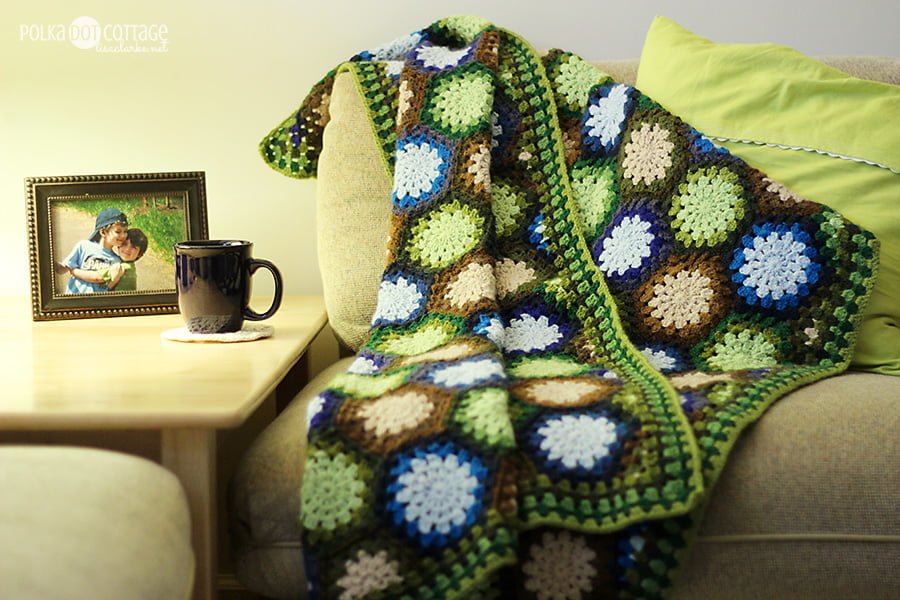
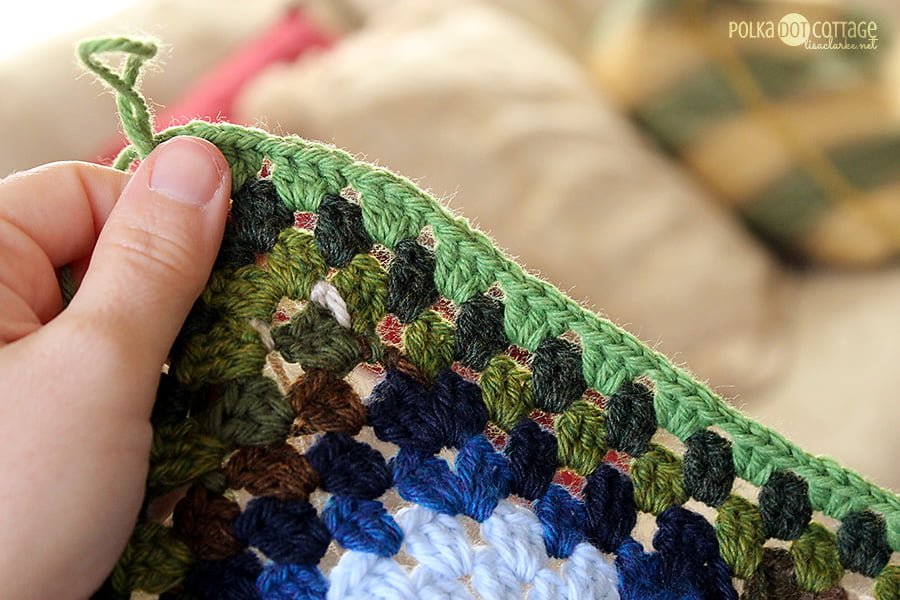
Did you think this day would never come? It sometimes feels like that when you work on the same project for so many weeks! But here we are, the body of the blanket complete, perfectly rectangular, and ready for a decorative edge. As you can see above, I chose to do a granny-style border on this one to continue the theme we started with the granny hexagons.
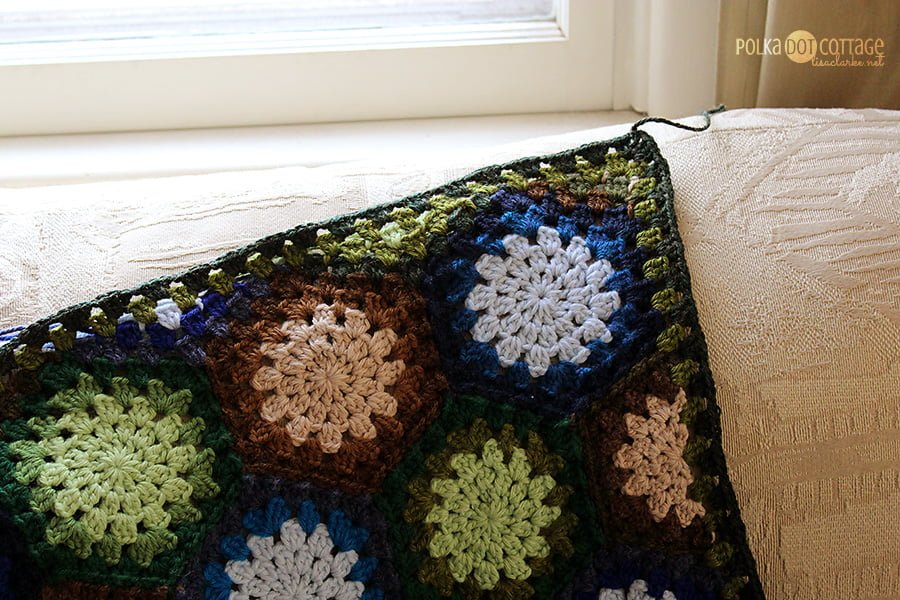
This is a five-round border using all of the different greens in your blanket, except for the very lightest one. I used 3 medium greens and 2 dark greens in my own afghan, but if you did the simpler color scheme with just one medium and one dark, you can simply alternate those two colors in the border.
If you are using multiple greens, save your favorite shade for last. The final border round is the most visible one and sets the “tone” for the whole border.
The first border round
With a medium green: insert hook in any non-corner space, ch3 (counts as dc here and throughout), 2dc into same space, ch1. Continue making [3dc, ch1] clusters all along the length of the blanket until you reach a corner space.
In each corner, [3dc, ch3, 3dc, ch1], then continue with the [3dc, ch1] pattern along the side.
When you reach the starting ch, sl st to join the round. Fasten off medium green.
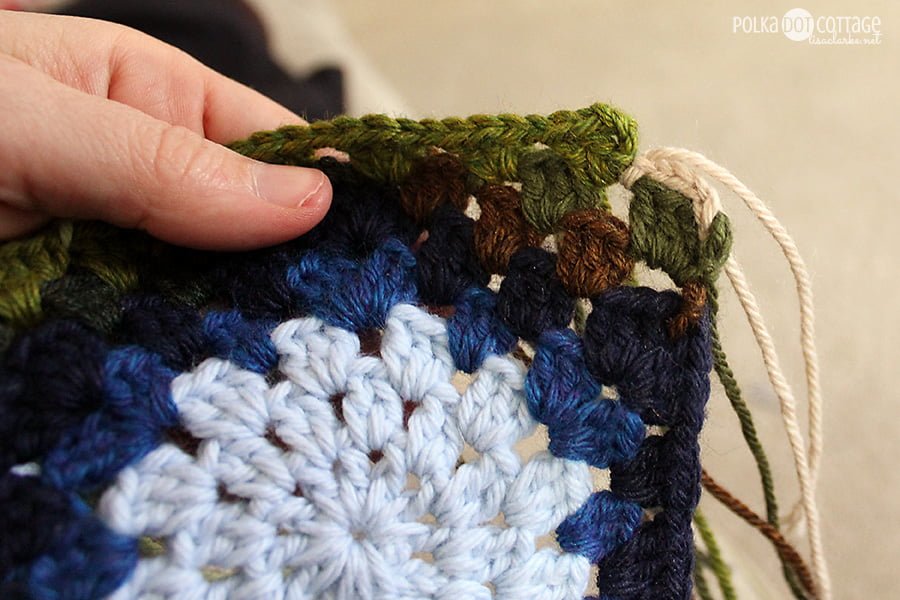
Be aware that this first border round is the trickiest of all of them. If you insert your hook into every space you find, you will have far too many clusters and your blanket will have a wavy edge. This isn’t a problem in a normal granny square blanket where everything is straight, but because we have a whole bunch of partial motifs along the edges of this blanket, we also have some irregular spots were there are color changes or unusual stitch patterns.
As you progress along the length of the blanket, make your 3dc clusters in spaces that are roughly 1/2-inch apart. Use your hexagons as a guide. See the spacing of the clusters on the final row of each hexagon? That’s how far apart the clusters should be along the border row. Don’t worry if it isn’t exactly perfect. This row will be sandwiched between the blanket body and the rest of the border, and a few poorly-spaced clusters here and there shouldn’t be too noticeable.
The other four rounds
With that first border round out of the way, the rest is easy. We’re just traveling around the blanket using the same stitch pattern we used as we traveled around the edges of each hexagon. The stitches are exactly the same, there are just a lot more of them.
Round 2: With dark green, insert hook in any non-corner space, ch3, 2dc into same space, ch1. *[3dc, ch1 in next ch1 sp] until the corner is reached. [3dc, ch2, 3dc, ch1] in ch2 sp ** Repeat from * to ** three times. [3dc, ch1 in next ch1 sp] until the end of the round, join with sl st at top of beginning chain. Fasten off dark green.
Round 3: repeat round 2 with a different medium green.
Round 4: repeat round 2 with a different dark green.
Round 5: repeat round 2 with a favorite medium green.
Celebrate!
Congratulate yourself – you have completed a lovely, straight-edged, rectangular hexagon lap blanket! Yay!
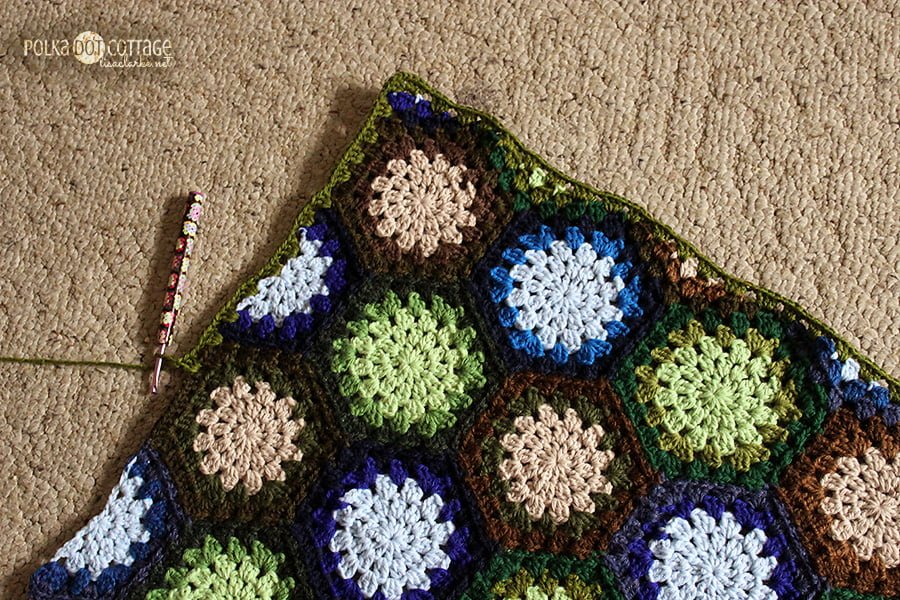
You can feel free to block the blanket, if there is any wonkiness in it. I did pin mine down on the rug and spray some water onto it to help tame a bit of puckering, but I didn’t go to too much trouble. My way of thinking with blankets is that they are going to straighten out and soften up plenty on their own. Especially, if they get a lot of use
In my house, blankets do get plenty of use. I am really so happy with how this hexagon blanket and its granny square predecessor are loved (and then left in a pile on the floor for me to pick up and fold. ahem) every day by my kids. Making lap-blankets for them has been a far more gratifying pursuit than any of the other yarny things I have tried. Nothing else gets used every day. Nothing else has become such a part of our family culture and leisure time. And nothing else feels so “full of Mom Love.” And that’s a direct quote from BOG and Flufy. ♥♥♥
The book
I hope you’ve learned a little something useful from this series. Behind the scenes I have also been working hard on putting all of the lessons together into an eBook. If you’d like the pattern and the tutorials all nicely-organized in one handy, portable publication, or if you simply just want to be a sweetheart and throw a little support behind me and what I do, you can purchase a copy. (Thank you!)
The book is forty pages long (a record for me.) In the first seven pages, I go over materials, tools, and the entire pattern for the blanket. The other 33 pages include versions of all of the photo tutorials I have been posting here over the last few months. In this way, the book should appeal to the experienced crocheter who just wants the pattern, but also to those who’d like to read a discussion on color choices or who may need help making a half hexagon (for example). You can get more specific details regarding what is included in the book via the link below.
So. That was fun. What should we make together next?










My goodness that eBook sounds like a lot of work. Congrats on getting it done! (Not to mention finishing the blanket.)
It was, but it’s worth it! How’s your blanket coming along?
Slowly, but surely. I just joined row 5 over the weekend.
The project was hibernating for a bit while I flew to various graduate schools for interviews. Looks like I’ll be taking my first class this May though so that’s all paid off (some details still pending so no big announcements yet).
I’ve got a HUGE pile of hexagons that I’ll be joining over the next several days so hopefully I’ll have more progress to share next week. I’m ready to start tackling the edges, but it’s still so far away. I need to finish before it warms up or the blanket might languish until fall!
The grad school stuff sounds exciting! Good luck with all of it.
And I totally get that languishing thing. I have a half-finished granny square sampler from the summer to prove it.
Blair’s sampler? Because I have the same (unfinished) one! I bet we could combine our squares and make one full (very wonky) blanket!
Yep, that very one! 🙂 Someday…
That is a fine looking blanket – well done. The half hexagons you did to make it properly rectangular were well worth it.
Thanks – I’m glad I did that, too. I really like the straight sides.
‘Amazing’ and ‘wonderful’ don’t express what I feel about your blanket. It’s MARVELLOUS! Congratulations, Lisa! I hope to finish my WIPs and start the blanket some time soon…
As for the next projects, why not sew a quilt? 🙂
Thank you so much! 🙂
I have two quilts in progress – they’ve been that way since 2011, I think. I really should tackle them, shouldn’t I?
Gorgeous blanket!! I love the colors and the half hexagons really make it look awesome! Congrats on your book. 🙂
Thanks, Stefani! I’m definitely pleased with the way it turned out 🙂
Gosh – this reminds me of the hexxies I made, stuffed in a box since last year! I really must assemble them into something… I just can’t decide on the design. 😀
I have a box like that – full of motifs I started for a sampler and never finished. I’ve decided to work on it when I am between projects, and give myself permission to stuff it back in the box when something more interesting comes along 🙂
I went on YouTube and found your website. I can’t tell you how great this is as I am working on hexi grannies and your finished afghan is PERFECT! This is exactly what I have been looking for. Can’t wait to learn you hexi grannies and finish an afghan like yours. Laurie
I’m so glad to hear that! Let me know if you have any questions about anything 🙂