

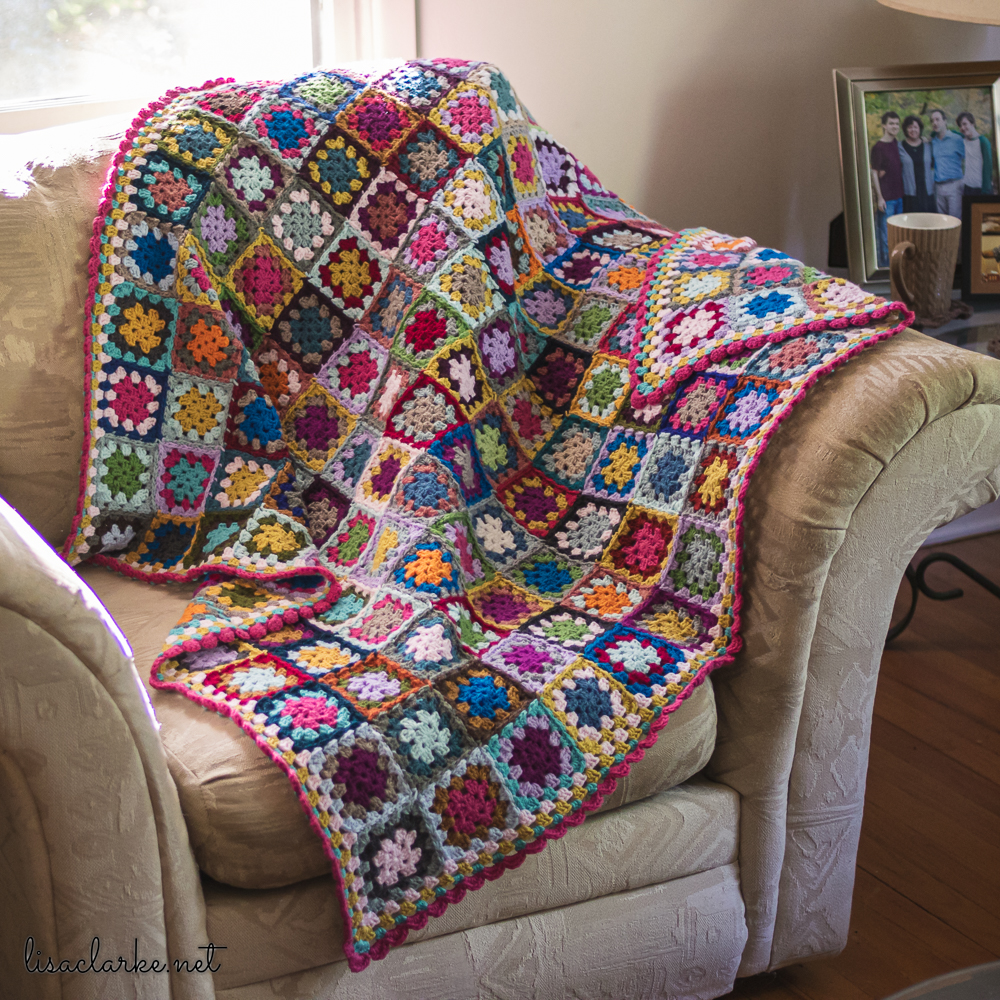
I’m pleased to show you my Highlander Blanket! So named, because it is destined to live in the back seat of my Toyota Highlander 😁
I’m so happy with the way this came out, especially considering it’s 99% leftovers. I feel quite thrifty 🙂
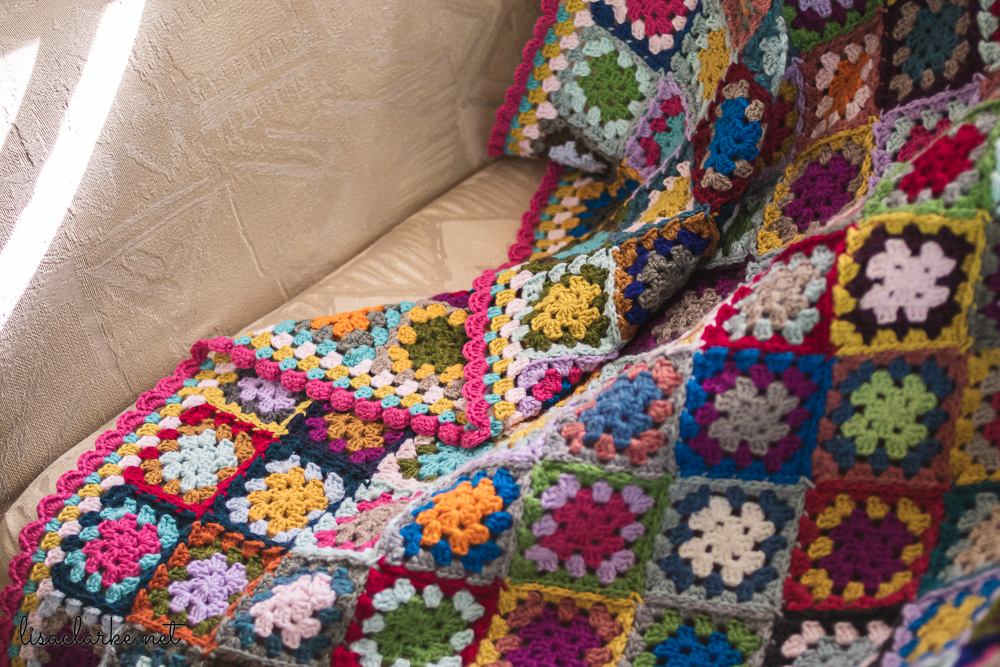
This scrappy granny square blanket was crocheted almost entirely from my stash (which has now become a shadow of its former self).
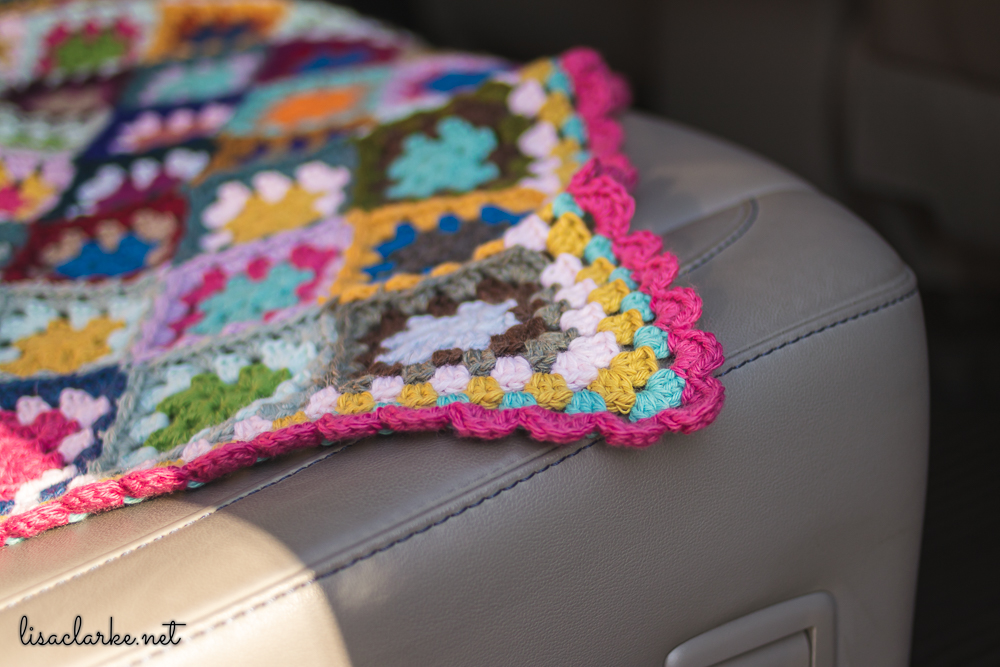
I say “almost” because somewhere along the line, I realized that bright pink was a crucial color. It was providing a lovely pop in the center of a handful of squares, and I was starting to feel that I needed this pink to be the final border color. I had not budgeted for that, though, and I only had enough to make it halfway around the blanket. Off to The Blue Purl on my lunch hour last week for a single skein of Berroco Vintage in “Shocking!” I hadn’t wanted to buy anything for this project, but I’m glad I bent the rules a bit. Totally worth it!
My Highlander Blanket will probably spend most of its time looking pretty in the back seat, but I hope that once in a while I will have a passenger that will enjoy curling up with it on a road trip!


What You Should Know
So, let me tell you little bit about how I made it, in case you want to crochet a scrappy granny blanket for yourself, too.
This is a nice summer project, because if you want to, you can simply make square after square after square, leaving off the final round. It’s a nice portable project for the beach. Then in the fall, when you would appreciate a cozy pile of wool on your lap, you can work on those last rounds and join the squares together as you go.
If you’ve never crocheted a blanket before, and you are intimidated by the size of the job, you might appreciate this blog post: Tackling the BIG Project: Crocheted Blankets
I’ll tell you what fiber and hook I used for this blanket, but the truth is: gauge is not critical here. If your stash consists of all DK-weight yarn, then use that. If you’re a sock yarn person, then use that. Just choose a hook that is appropriate for that weight of yarn, and then make granny squares until the blanket is the size you want it to be, or until you’ve sufficiently depleted your supplies.
NOTE: This blanket is made with standard old-fashioned granny squares, and assembled with the join-as-you-go method. I’m not going to give a full tutorial here, but these techniques are demonstrated in my Flufy’s Granny Square Blanket tutorial, if you need it. The blanket is finished off with a scalloped edge, as demonstrated in the Mod Floral Blanket tutorial. Also, if you need a hook, I’ve got a bunch of sizes in stock 🙂
Crochet a Scrappy Granny Blanket

Gather Your Supplies
Choose a go-to blanket-making yarn (mine is Berroco Vintage), and spend a decade hooking up a bunch of blankets with it for your family members, until you have two tubs full of leftovers.
Alternately: If the 10-year plan is not practical (😜) use whatever you have, or buy what you need. It’s up to you. Just make sure all of your yarns are the same weight and have a similar fiber content. For example, if I had wanted to supplement what I had with other brands, I’d have chosen worsted weight yarns in washable wool or wool/acrylic blends, because they would be similar to Vintage’s acrylic/wool/nylon fiber content, and its 5-stitch-per-inch knitting gauge.
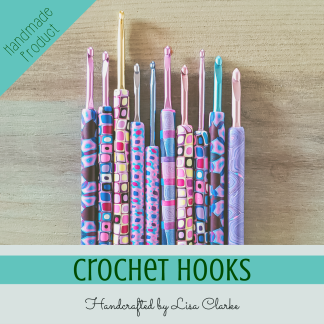
Choose an appropriate hook (mine is a Lisa Clarke original, Susan Bates size H 😁)
Make Your First Square
Let’s call this Square A. Choose 3 colors that you like, and make a traditional granny square, like so:
- Round 1: With Color 1, make a magic loop. Crochet four 3dc clusters into the loop, separated by ch2 spaces. Pull the tail to tighten the loop.
- Round 2: In each ch2 sp: [3 dc, ch2, 3dc, ch1]. Fasten off Color 1.
- Round 3: With Color 2, follow the traditional granny square pattern: [3 dc, ch2, 3dc, ch1] in each ch2 space for the corners, and [3dc, ch1] in each ch1 space for the sides. Fasten off Color 2.
- Round 4: With Color 3, repeat Round 3. Fasten off Color 3.
Square A complete!
Reminder: if you’re a beginner, and these vague instructions are not helpful, you can find more detailed instructions online, or in Flufy’s Granny Square Blanket pattern.
Make More Squares

Let’s call this Square B. Choose 3 completely different colors, and make another square, like so:
- Rounds 1-3: Proceed in exactly the same manner as Square A
- Round 4: Crochet along the first side as usual, turn the corner, crochet the second side up to the corner. Crochet the first half of the corner [3 dc, ch 1]. Place Square A above this square, and insert the hook into the rightmost corner space of Square A. sl st into the corner, thereby connecting the two squares, and complete the second half of the corner [3dc]. Continue crocheting, inserting the hook into the corresponding space of Square A, and replacing the usual ch1 with a sl st. When you reach the corner, [3dc, sl st, ch1, 3dc] and finish this round in the usual manner.
Square B complete, and connected to Square A!
For future squares that will need to connect to two other squares in a corner (which we will refer to as Squares A and B), Round 4 would look like this:
- Round 4: Crochet along the first side as usual. Crochet the first half of the corner [3 dc, ch 1]. Place this square in a corner with Square A above and Square B to the left, and insert the hook into the rightmost corner space of Square A. sl st into the corner, thereby connecting the two squares, and complete the second half of the corner [3dc]. Continue crocheting, inserting the hook into the corresponding space of Square A, and replacing the usual ch1 with a sl st. When you reach the corner, [3dc, sl st into Square A, sl st into Square B, 3dc]. Continue crocheting, inserting the hook into the corresponding space of Square B, and replacing the usual ch1 with a sl st. When you reach the corner, [3dc, sl st, ch1, 3dc] and finish this round in the usual manner.
Square C complete, and connected to Squares A and B!
Make All of the Squares
Continue making 3-round squares, and connecting them to each other via a fourth round in this manner until you have a blanket as big as you want it to be. For the best distribution of color, make an effort never to repeat a color in an adjacent square. In other words, if you want to use blue in your current square, make sure there is no blue in the square above, the square below, or either square to the left and right.
It easier to control the distribution of color, if you plan big chunks of the blanket at one time, and don’t just go square by square. I do this with most blankets I make, usually doing one row at a time, and planning all of the colors that will go into that one row.
Give it an Edge
I like my blankets to have a nice border around the edges. If you agree, you’ll want to choose a few colors that you have a lot of, and get started once the blanket has reached an appealing size.
To make the border, think of the entire blanket thus far as one giant granny square. Your border rounds will be crocheted around the edge of the blanket in the same granny style that you’ve been using all along: 3dc clusters in the ch1 spaces, and [3dc, ch2, 3dc] stitches in the corners. When you get to a spot where two squares are connecting, pretend that sl st connection is a ch1 space.
Complete three border rounds total in three different colors.
The fourth and last border round is a scalloped pattern. In each ch1 sp: [sc, hdc, 3dc, hdc, sc]. In each ch2 sp: [sc, hdc, 5dc, hdc,sc].
Finish it!
Block it if you wish (full disclosure: I didn’t bother), take a million pictures, and show all of your friends.
But most importantly, use it. Blankets like this are not meant to be folded up and stashed away somewhere, too precious to use. Sling it over the back of a couch, cuddle under it with a cup of tea on a rainy day, spread it out at the end of your bed to keep your feet warm in the winter, wrap your favorite kid up in it. There are a lot of these blankets in my house these days, and most of the time I find them crumpled up on the floor. I just pick them up, fold them nicely, and sling them over the nearest chair, ready for the next person who needs a little cozy time.
More Fun Stuff
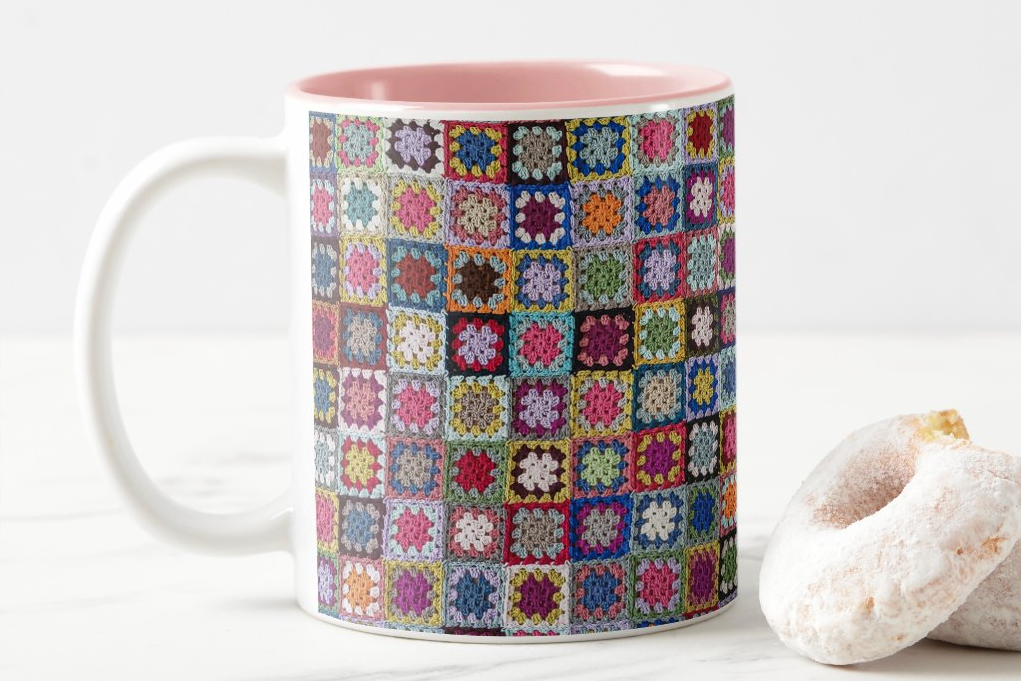
Every time I finish crocheting a blanket, I take a photo, and turn it into a digital repeating pattern. (I do the same with favorite polymer clay millefiori designs, too.) These digital patterns almost always find their way onto mugs at Zazzle. Sometimes I make fabric at Spoonflower, too, though I haven’t done that in a while. I should probably add some new blankets to my Spoonflower fabrics soon… 🤔
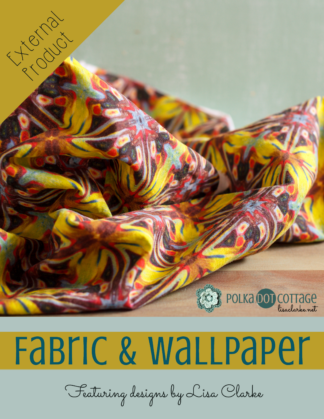
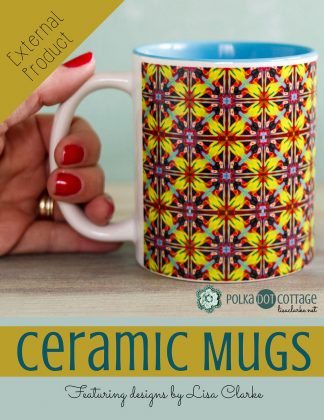
Anyway, if you like this particular blanket, and don’t want to make one yourself, feel free to enjoy it on the outside of a ceramic mug. Donuts optional.
Thanks for reading along this far. If you have any questions, drop them in the comments, and I’ll do my best to answer them!


Thank you for this Lisa I was drinking out of my mug I purchased for you from you years ago reading this I really enjoyed it, I’m inspired to start one.I was actually thinking of making one of those granny cardigans that are so popular right now .
When I first saw you named it Highland I thought you must’ve watched the Highlands series while you were crocheting
I really loved that it was for your car though instead. I was looking through your crochet hooks and it seems like none are available
I was looking to see what was on sale. I didn’t see anywhere posted which ones were particularly on sale, it’s kind of confusing everyone says not available.
How strange! When I look at the hook page, I see 24 hooks listed. All of them are in stock. The last two listed (a size I in Swamp Jubilee, and a size D in Swamp Tortoise) are the ones that are on sale. I’m not sure why you are able to see hooks that are not available, since it should hide any that are out of stock 🤔
If you have a minute, and can describe what you see on that page, it would be helpful. I’d like to fix it, but it looks fine on my side.
Thanks for the nice compliments on the blanket! I’m glad you’re still enjoying that mug, and yes! I want to make one of those cardigans, too! I saw one in a shop window yesterday, but the store was closed and I couldn’t see how much they wanted for it – I suspect it was a lot, though. It’s nice to have the skills to make our own 🙂
I think I may see what went wrong. There are three options: handle design, hook size, and hook brand. If you don’t choose one from each set of options, it pops up an unavailable message. I’m going to see if there is some way to customize that message so that it is more clear (because “not available” isn’t really accurate).