

Are you familiar with the Retro Cane? It’s been making the rounds on the internet for several years. I’m not entirely sure who was the first to come up with the idea (though I’ve seen one source say it was Nan Roche), but the technique saw a resurgence in 2012 when Bettina Welker published her take on it.
Personally, I’ve been making them for at least a decade, and I love the mod look.
The physical act of constructing the cane is actually quite simple: insert striped cylinder into clay gun, extrude through square disc, cut up and re-assemble extrusion into square cane. Done in under 5 minutes.
Technically, anyone with opposable thumbs can make a Retro Cane.
That said, I’ve seen a lot of ugly Retro Canes. And even more that are not ugly so much as flat. Contrast is an essential element to these patterns, but sometimes it’s hard to see how to introduce contrast into a design while still using the colors that speak to you.
The trick is in how you build that striped cylinder that you insert into your extruder.
While you can technically put any colors you like together, not every color combination is going to result in a striking pattern. With that in mind, let me give you a few tips, and show you how to use the colors you love, while still ensuring that the finished design really pops.
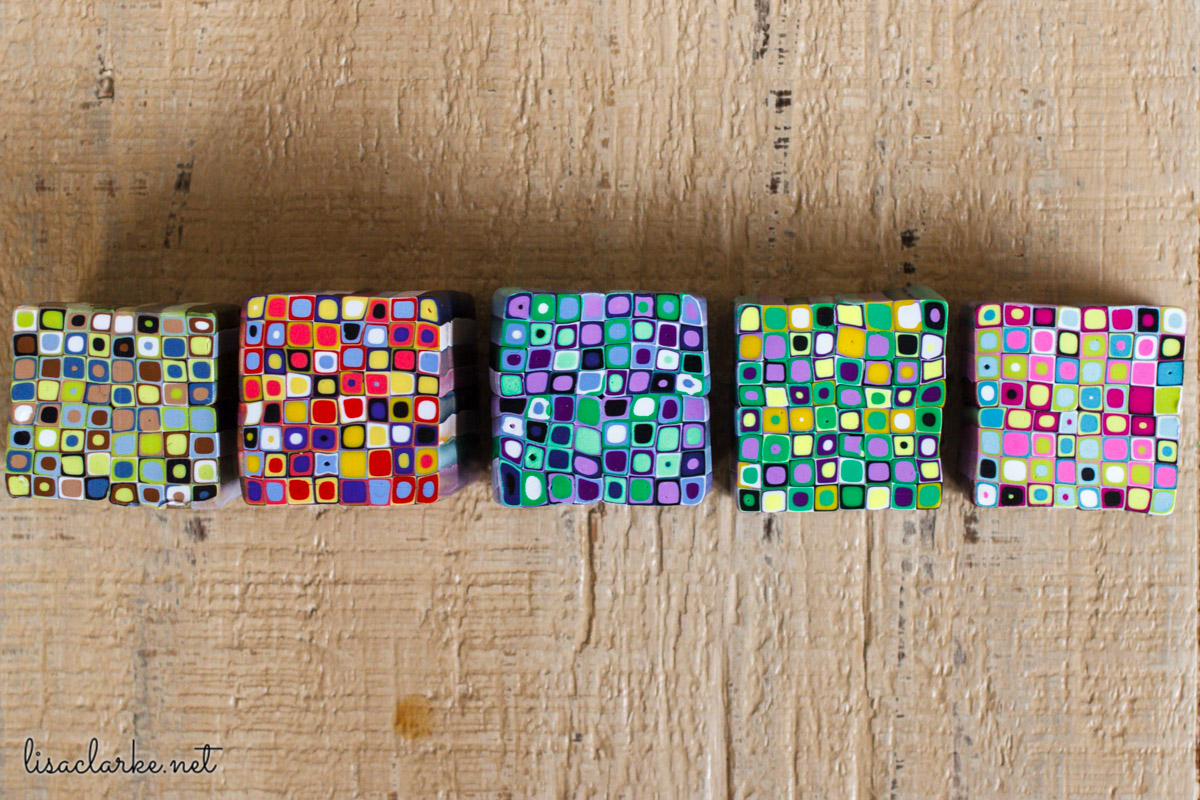
When I establish a color scheme for a group of canes, I nearly always choose three main colors to work with for all of the designs within the group. These colors are generally fairly dark or richly saturated, and all of my designs involve adding white and/or black to them in varying degrees. This ensures some amount of contrast, even when my three main colors are similar in value. This approach works well with Retro Canes.
You can feel free to use fewer colors (or more) if you like, but keep these tips in mind when making your selections:
- Avoid metallics or clays with inclusions in them. These types of clays don’t have a “crisp” look about them when they are used in caning. If you really must have some sparkle in your design, choose only one metallic. If you surround it with opaque colors, you’ll retain crispness and get a bit of shimmer at the same time. When it comes to pearlescence in Retro Canes, less is more.
- Same goes for translucent clays. It’s best to eliminate these altogether, or use them in a subtle role.
- Choose colors with some vibrancy to them. Since you’ll be adding white, you want colors that can be considerably lightened and still retain plenty of the original hue.
So, go ahead and choose your three favorite colors. In this example, I’ve used Premo in Wasabi, Denim, and Raw Sienna. You’ll need less than a package of each, as well as some black and some white.
You will also need a 1/2-inch circle cutter, and a clay extruder.
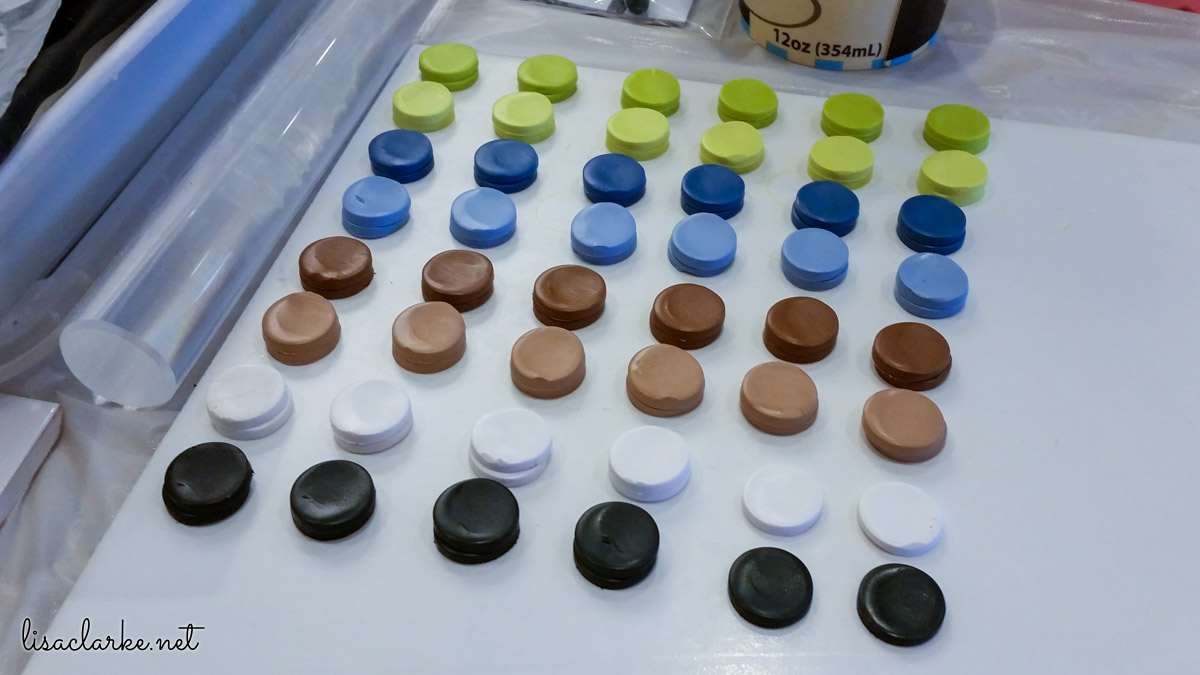
Condition your three main colors and the black and white.
Take some of each of the three main colors and mix them with equal amounts of white in order to make lighter versions of themselves.
Using the circle cutter, cut 12 circles from each of the main colors and each of the lighter shades. Cut 10 circles from the black and 10 circles from the white, as shown above.
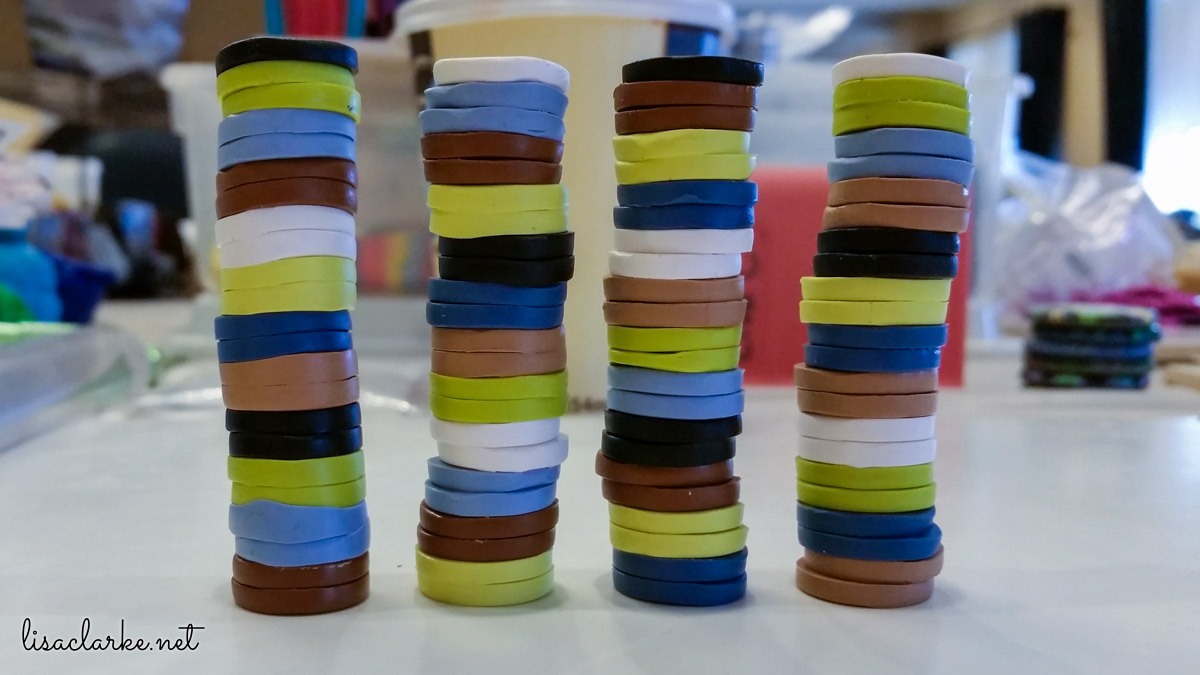
I like to make four extrusions for a single Retro Cane, and I like to arrange them in a particular way. I have a few rules for myself:
- All color stripes should be two layers thick. The thickness of the stripes determines how many concentric circles you will have in each “cell” of your Retro Cane, and I like the boldness I get from two layers. If you wanted more circles in each cell, you’d make your color stripes thinner.
- Exception to the above rule: the very first stripe should be only one layer thick. You’re going to cut off any solid color at the beginning of the extrusion anyway, so why add more than you need?
- Assemble the stripes as follows: black or white, 3 colors, black or white, 3 colors, black or white, 3 colors.
- Assemble each of the four striped cylinders in a different configuration than the others.
- Wherever possible, don’t line up main colors next to each other or light colors next to each other. Instead alternate main and light.
If these rules seem complicated, feel free to disregard them and experiment with your own configurations. Or, just look at the image above and copy my assembly directly.

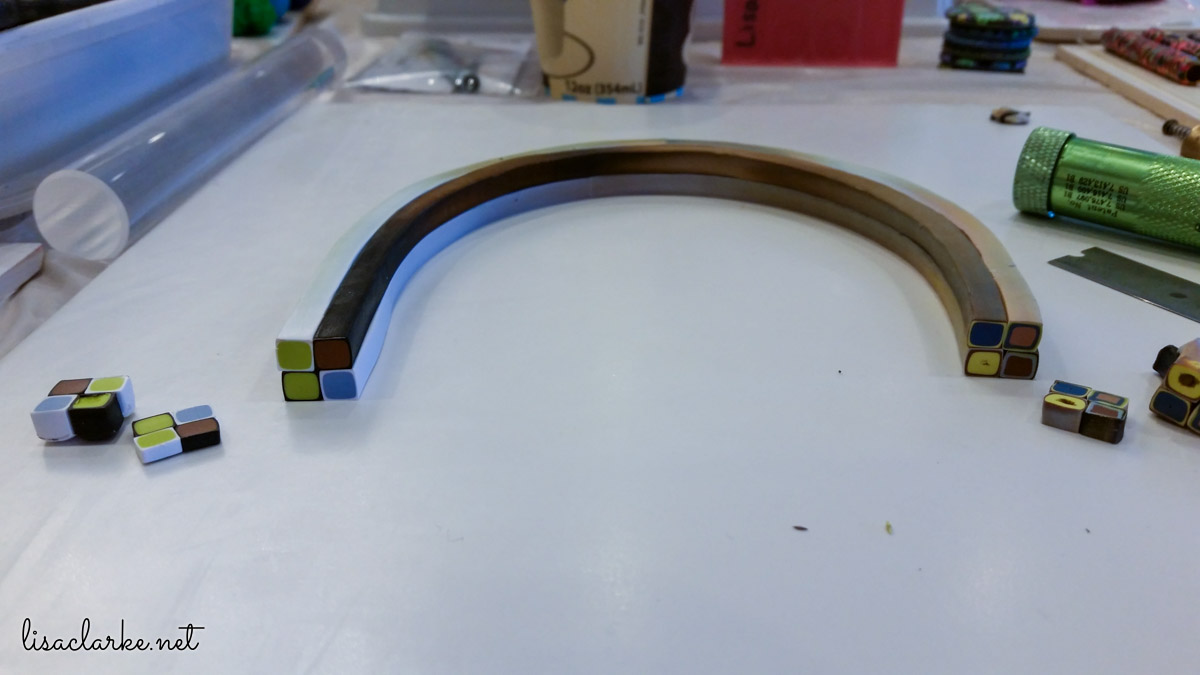
Load the first striped cylinder into the barrel of the clay gun and extrude it through the square shaped disc. Repeat for the remaining three cylinders.
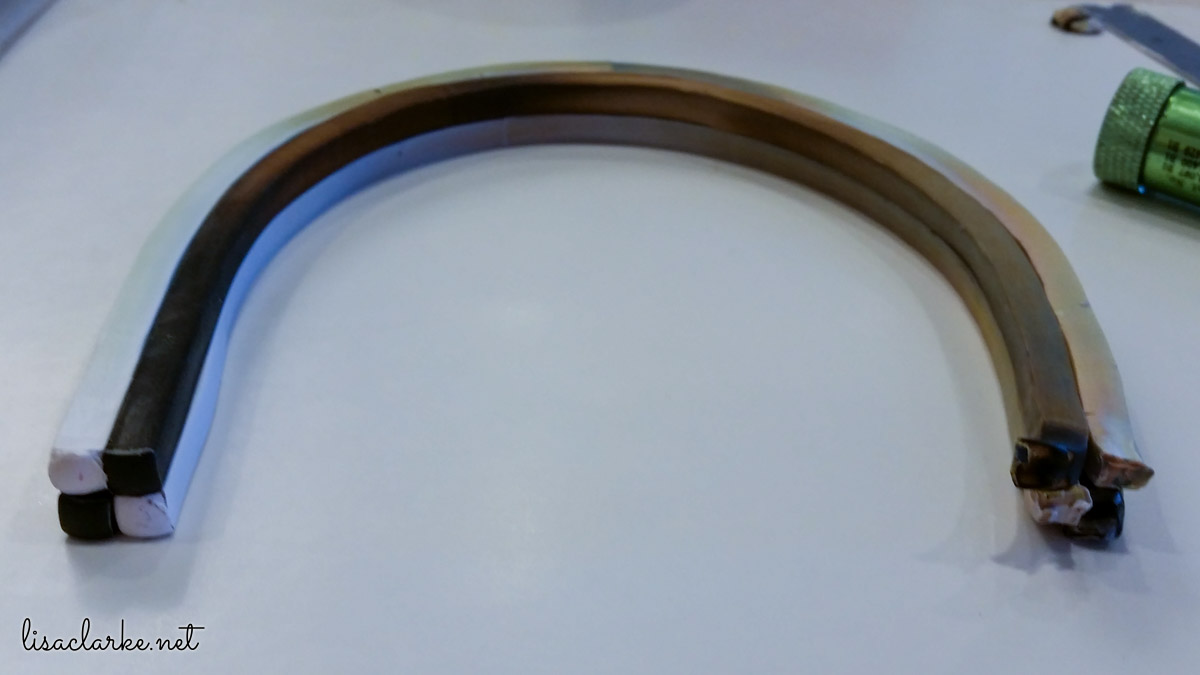
Stack the four extrusions together, checkerboard style, with blacks and whites opposite each other diagonally.
Note: you don’t need to make a “U” shape. I did it here to illustrate what both ends look like.
Slice off the solid colors from the front end until you start to see the colors inside. Slice the distorted bits from the other end until it looks as nice as the front end.
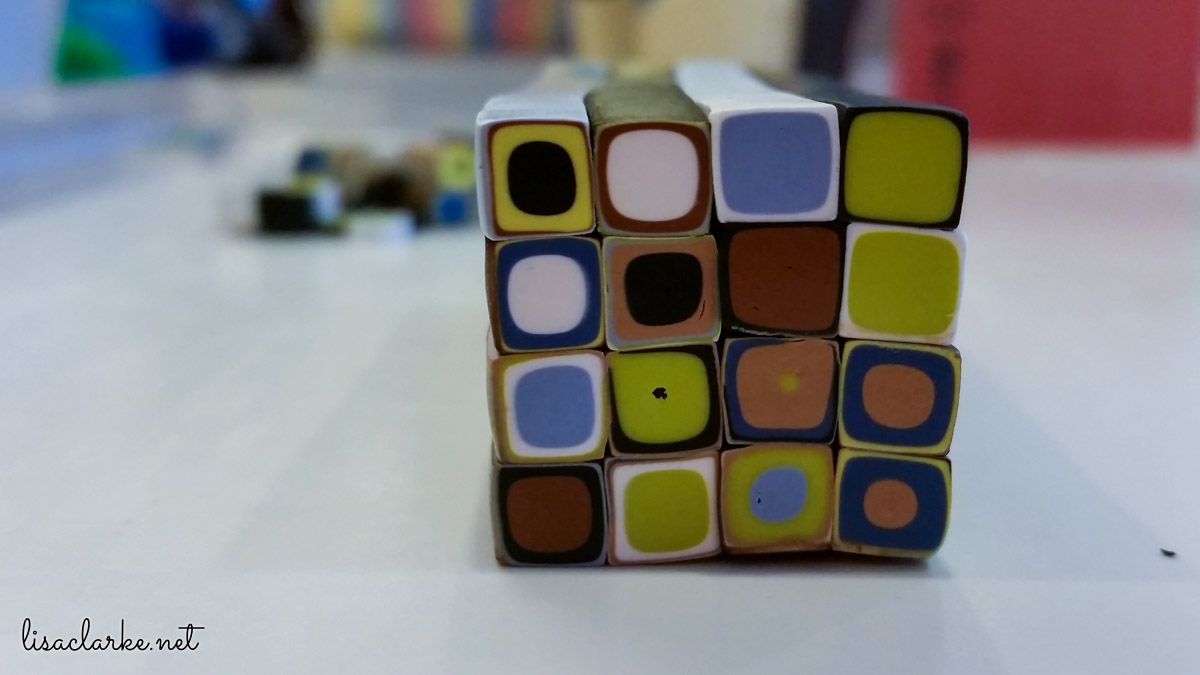
Cut the cane into four equal-size pieces and stack them together.
You can stop here, if you want, but I like my Retro Canes to be more complex.
Reduce this cane until the face of it is less than an inch across. Cut off any distorted ends.
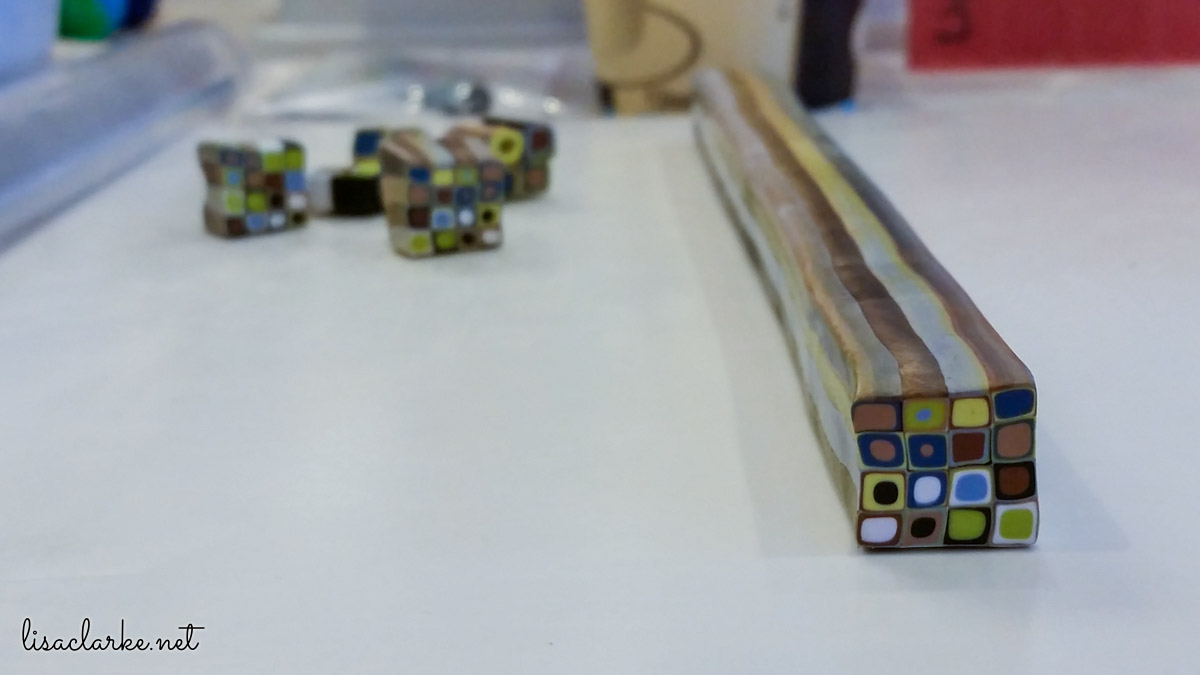
Cut the cane into four equal pieces and re-assemble as shown. Reduce slightly, just to make sure all of the pieces are nicely adhered to each other.
And that’s it!
What if you don’t want strictly black and strictly white in your cane? Mix your main colors with equal parts black and use those as your “blacks.” Mix your main colors in a ratio of 1 part color, 3 parts white to get super light pastels and use those as your “whites.”
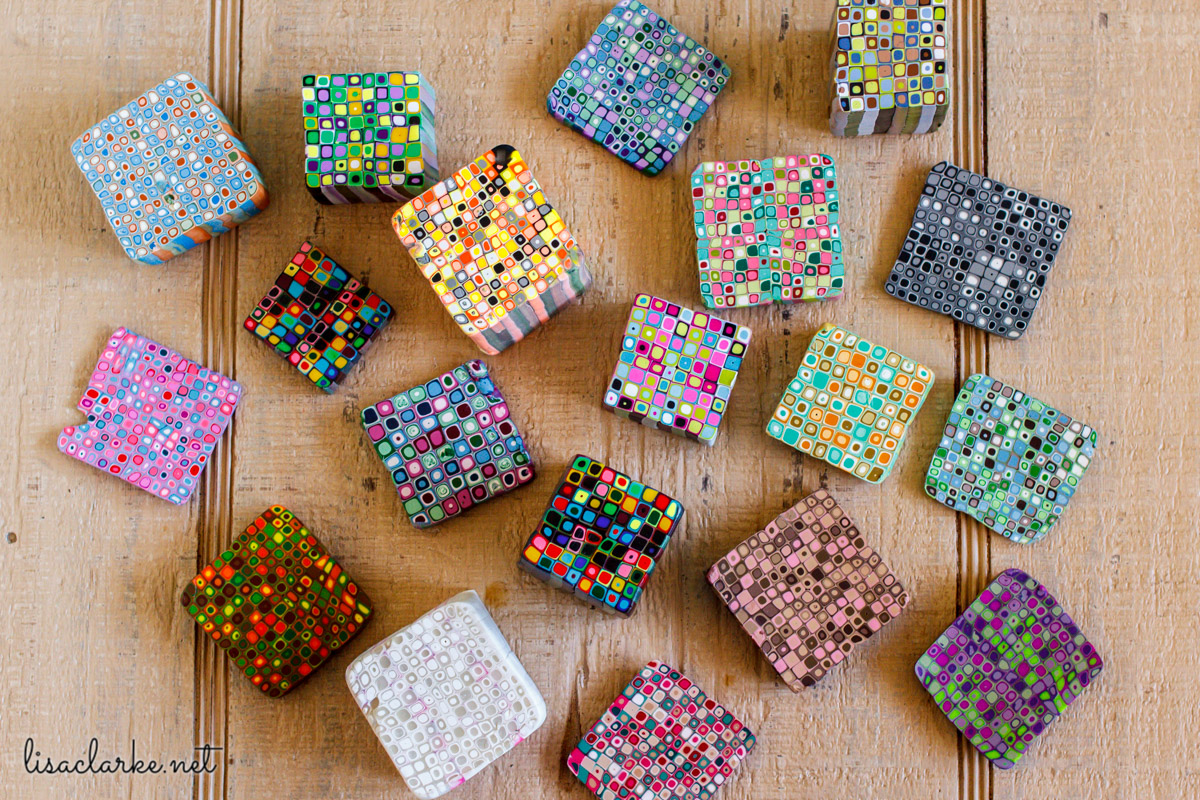
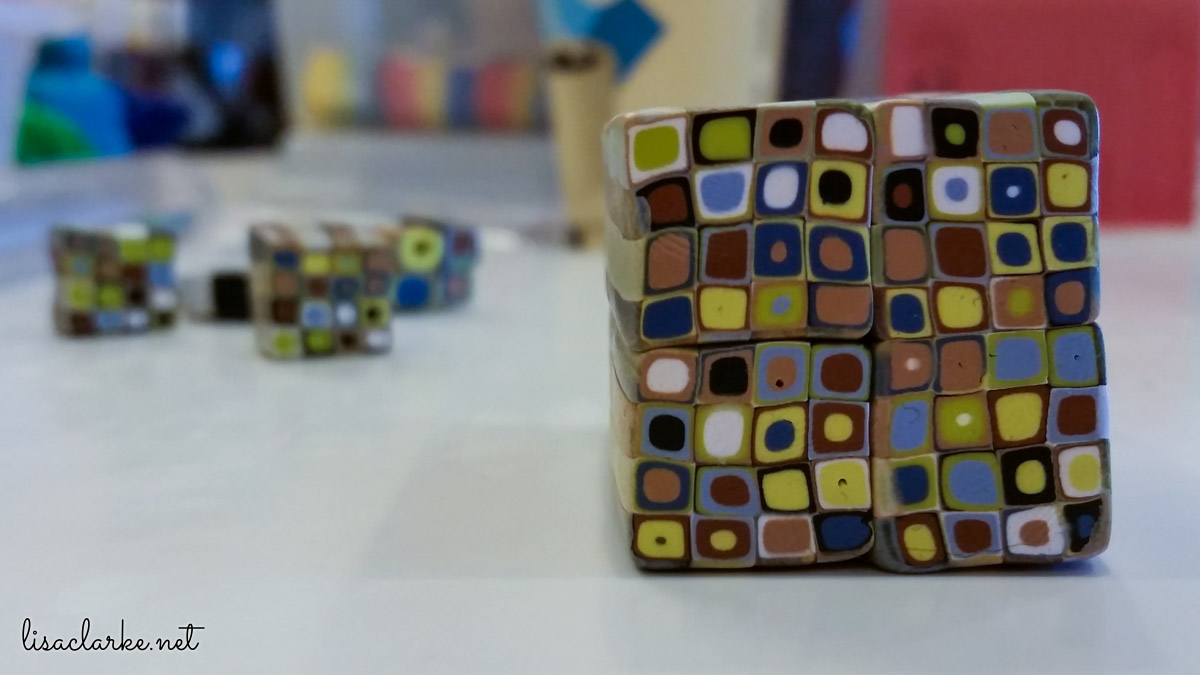
Perhaps you want a brighter, more subtle pattern? Eliminate the black altogether. Use your main colors, the colors mixed 1:1 with white, the colors mixed 1:3 with white, and white itself. That should be enough to introduce some contrast into the design without making it bolder than you want it to be. In fact, this is how I made Retro Canes myself for many years. Several of the canes pictured at the top of this post were made that way.
Feel free to experiment with the width of the stripes and the arrangement of the colors, and see what you get!


Thank you, Lisa! While the retro cane is familiar to many of us and fairly simple to construct your advise on how to go about making a successful one is most valuable. After reading your wise words I realised we can forget what now seems obvious about colours and contrast. I can feel a retro cane coming on with the rich Souffle colours 🙂
Chrissie
I’m glad you found it useful. I take a similar approach with all of my caning – pick three favorite colors and then lighten and/or darken them and work with many shades of the same colors. It works for me 🙂
Thanks for commenting!
[…] ← Previous […]
[…] Additionally, please say hello to two new designs: Tortoise and Retro. Tortoise is a complex pattern of concentric diamonds, reminiscent of the distinctive turtle shell. Retro is a classic design that you can learn more about here. […]
excellent tips. thanks so much!
My pleasure! Happy claying ☺
Hello, I tried to find the tutorial for the pixelated retro cane but her site is no longer available, would you tell me what the difference is please, and also if you know, what size disc is used, a square or round one. Thanks
Hi, Debbie. I did a quick Google search and found the link here: http://bettinawelker.de/en/pixelated-retro-blend-cane-de/
I’ll update my post with the new link. Thanks for letting me know!
Thank you so much for finding this it looks so interesting and your suggestions re the retro can will come in handy.
My pleasure… Happy claying! 😎
I love these canes .I wish you would sell them
Thank you for the complement 🙂 I’ve never considered selling canes, but maybe someday I should!
[…] que je n’ai découvert qu’après le site de Lisa Clarke à ce sujet : Les pâtes translucides ne conviennent pas pour ce genre de […]
[…] dat ik pas daarna de site van Lisa Clarke over dit onderwerp ontdekte: Doorschijnende klei is niet geschikt voor dit soort […]
Hello, I’m new to making cane with polymer clay, I work with a lot of different mediums but clay is a first for cane making. I have searched high and low for this tutorial and I’m so glad I found you. It just amazes me how the extruder works, can’t wait to try it..Thanks so much…Linda Chandler
Wait until you cut into that first extrusion – it’s always so exciting, because you never know exactly what you’re going to get 🙂
Glad you enjoyed the tutorial. Have fun!
[…] One of the best tutorials I’ve seen on Retro cane […]
[…] components of a retro cane, before they are extruded.Jewelry in progressSanding and buffing takes just as long (sometimes […]
[…] Retro cane […]
I’m new to canes, and I’ve really enjoyed your blog. I’ve learned a lot very quickly! I’m making canes that I use to create pen blanks that I same and polish on a lathe. I’ve seriously only been working for a couple weeks, but the results are promising!
Ooh, I’ve always wanted to try carving polymer with a lathe. Have you tried that? I bet if you wrapped the pen blank in several layers of color, and then carved some of the baked clay away with the lathe, you could get some very interesting designs 🤩 Glad to hear you are getting something helpful out of my blog!
Hi, I haven’t tried polymer clay yet but I plan to in the near future. What kind of things/utensils can je make from the retro canes? I’m thinking of coasters but what else could you make?
Hi, Joyce. You can make so many things! If you want to make utensils, the best way to do that is to cover the handles of existing metal utensils. You don’t want to put the clay anywhere that is specifically used for food, though. So the handle of a fork, the stem of a wine glass, etc. I found this Instructable that explains how to do it. Hope this helps!
P.S. If you want to see the kinds of things that I make, you can look at my shop for examples.