


I realize that I’m supposed to be running a business here, but nearly all of my “what should I make?” decisions come not from diligent market research, but from my own needs and wants. Case in point:
Yesterday, I threw on the Oxbow Cardigan I knit last year. I love this sweater, but it has no buttons or zipper, and I generally like my front flaps to stay put when I’m wearing a cardigan. Eventually all of the flopping open drove me nuts, and I grabbed the slightly broken stick of an old shawl pin to fasten it closed. I have no idea what happened to the old shawl pin that goes with that stick, and even if I did, I don’t know if I’d want to use it. It’s been about eleven years since I regularly made shawl pins, and in that time my techniques have improved, and my tastes have changed.
So, I got to thinking, if I made a shawl pin now, how would I make it better?
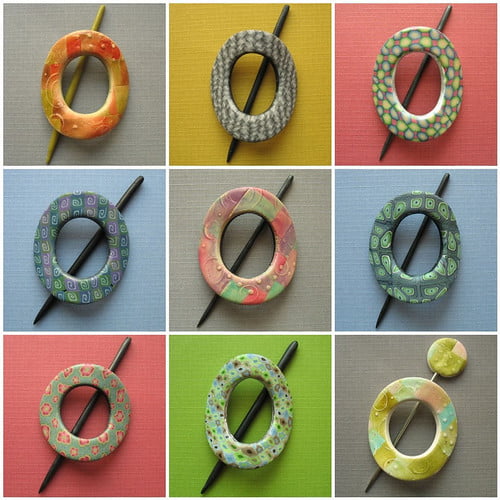

The images above are ones I dug up of my older shawl pins. They’re all long gone, sold out years ago.
If I were to make them now, here’s what I’d do:
- Use a more professional grade clay. I was still a Sculpey III girl when I made the old ones. I used Premo as a core, but the veneer was Sculpey. If you don’t know anything about polymer, that essentially means the strength of the finished piece was probably compromised by doing it that way. Nowadays everything I do is entirely with the stronger Premo.
- Go flat. I like the way the rounded ones of old look in photos and the way they felt in my hands, but in practical usage, I don’t think the curve was helpful. So I’d keep them perfectly flat.
- Sand the daylights out of them. I used to avoid sanding, and while sometimes I sanded my older pieces, often I didn’t. Nowadays I don’t let myself skimp on that step. It makes a huge difference in the quality and feel of the finished piece.
- Collaborate on the stick. The sticks were always my least favorite part of older pins. Sometimes I covered metal knitting needles with polymer, and sometimes I stuck a polymer bauble on the top of a bare metal needle, but I wasn’t ever satisfied with either style. Now I know a woodworker, so we’re currently discussing if he can make me some nice wooden sticks to pair with the polymer. I’m hoping that works out!
- Explore other shapes. The old ones were always round, but I think ovals or squares might also be nice.
- Be more precise with the patterns. My surface patterns are sometimes wonky. I know that, and it has never bothered me before. But lately, I’ve been thinking that more precision (aka, keeping square things square, and mirroring kaleidoscopic designs exactly) couldn’t hurt. So I’ve purchased a cane-slicing tool and adjusted my technique.


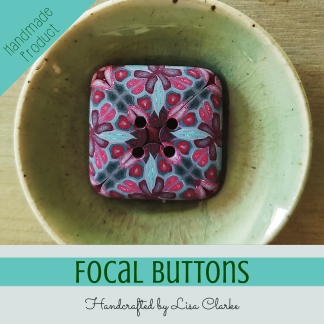
Here are a few oval prototypes I made last night, along with a handful of buttons. (I haven’t sold buttons in a long time, either, but I think it may be time to get back to that as well.)
These pieces aren’t finished. They’re not sanded. They’re not buffed. They don’t have fancy wooden sticks to go with them. But they’re a start, and they are functional.
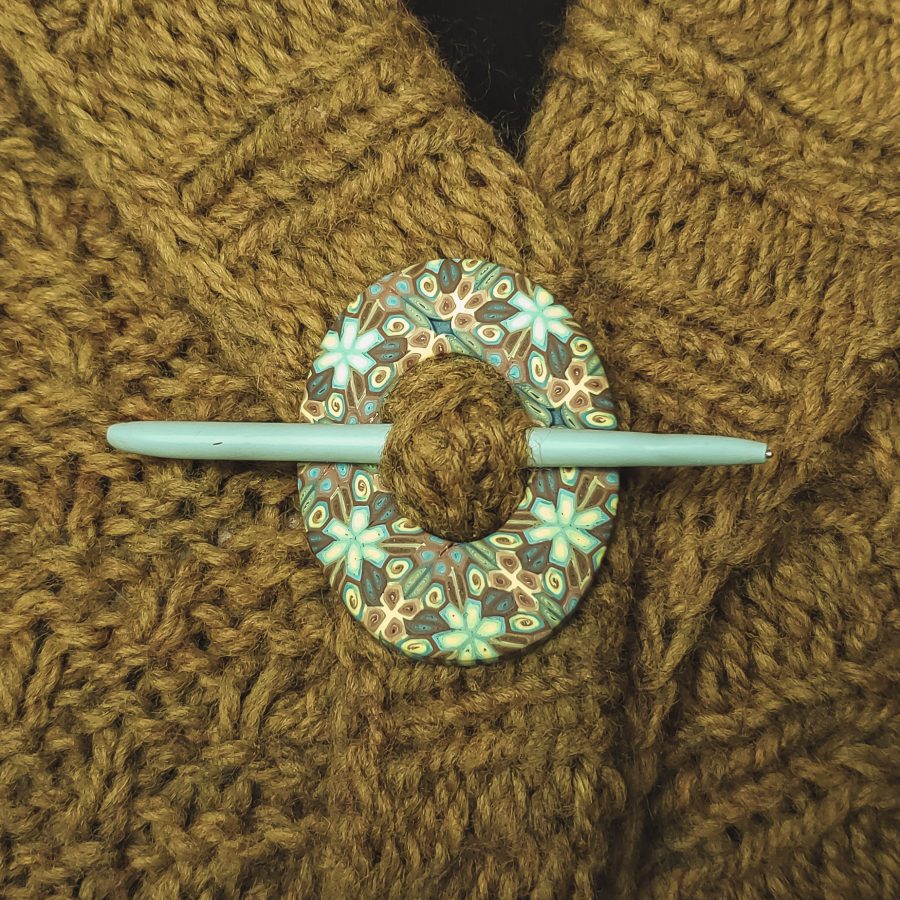

I put the unsanded oval piece, and the old stick (with the tip broken off 🙄) to work today to hold my sweater closed, and it’s fully functional, if not yet perfect.
I’ll be sure to post here when the new shawl pins go in the shop. But in the meantime, if you think you might want one and you have color, pattern, or shape suggestions, be sure to leave a comment!
UPDATE! The shawl pins are now available 🙂
-

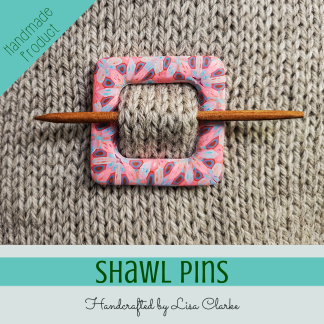
Shawl Pins
$30.00 Select options This product has multiple variants. The options may be chosen on the product page





Wow, the crispness in your cane slices now! Your prototypes are lovely – that slicer looks like a great investment.
Thanks! It’s a lot more fiddly to use than a simple tissue blade but it seems to be worth the effort 😁