I made buttons last week. They were a prerequisite to getting some scheduled writing done. You see, I made the buttons so that I could put away the polymer clay supplies for the year. I needed to put the polymer away so that I could set up the sewing machine. And I need to sew so that I can write this month’s eBook (it’s going to be patchworky, my friends!).
Whew. It really is a relief to have the polymer clay put away. I am now a full week behind on my self-imposed writing deadline, so it feels good to finally be ready to sew the samples. Yay!
So, how about I show you those buttons?
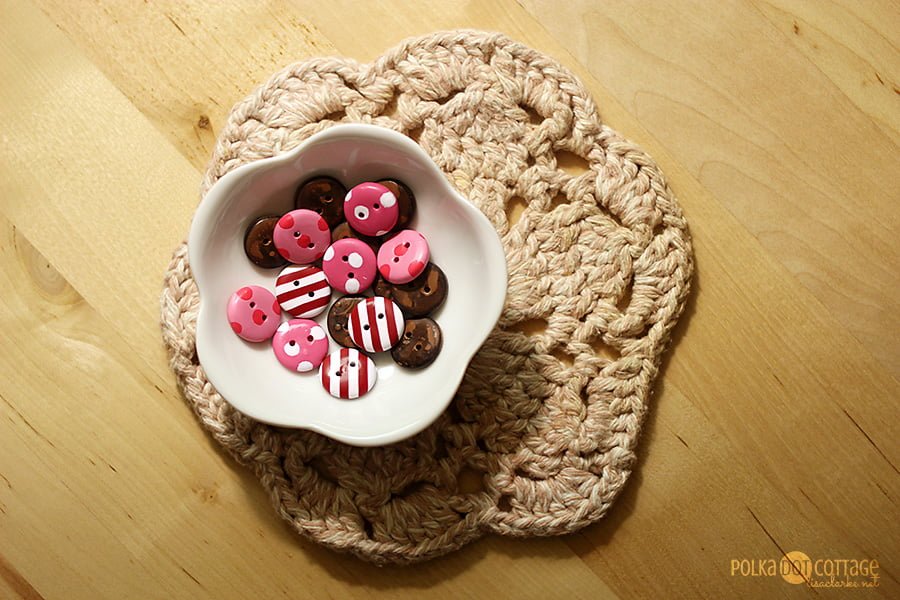
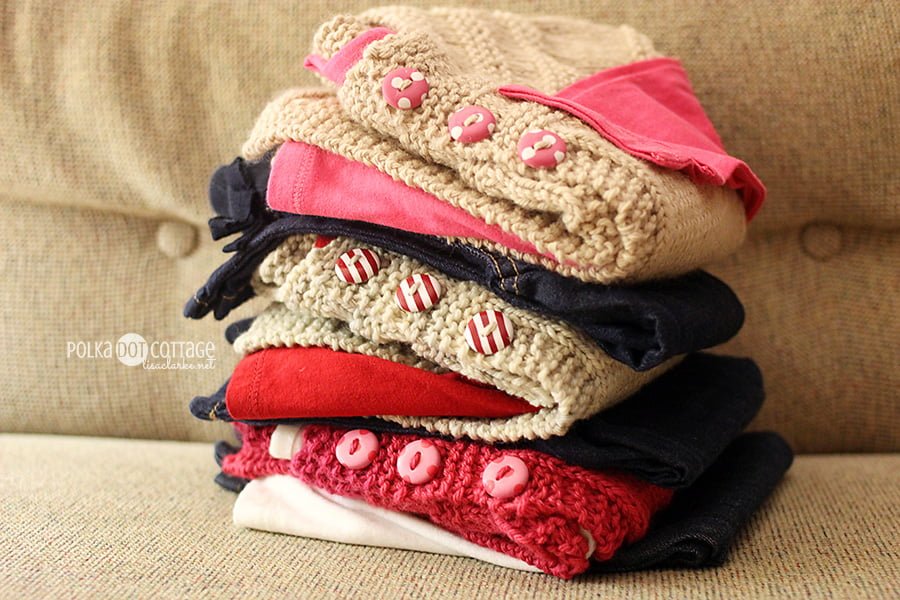
The first three sets of buttons are for three little sweaters I just finished knitting. (I’ll show you the sweaters later). I wanted them all to be similar, but different. So, there are two polka dot sets and one striped set.
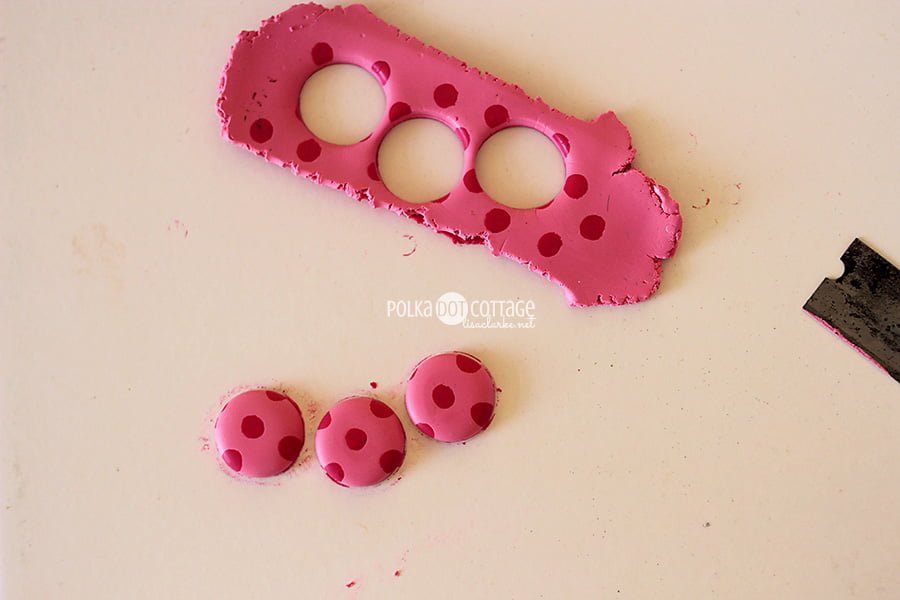
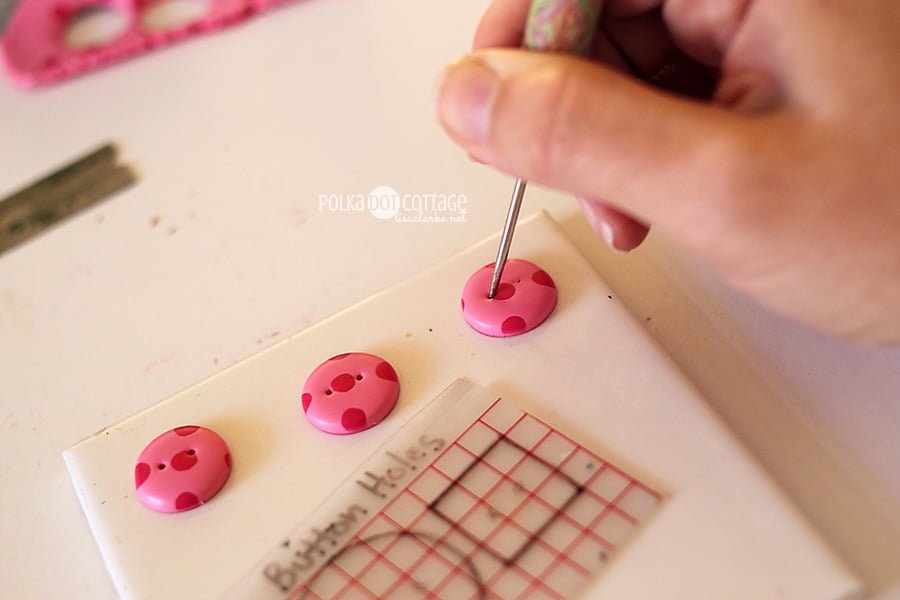
I have a polka dot button tutorial that you could follow if you wanted to make these. The only differences are in the size of the round cutter, and the placement of the polka dots. I went for a more precise placement this time, impressing a grid pattern on top of my button slab, and using a tiny cutter to make uniform dots. Given the size of these buttons, I probably could have gotten away with less precision. You don’t really even notice it.
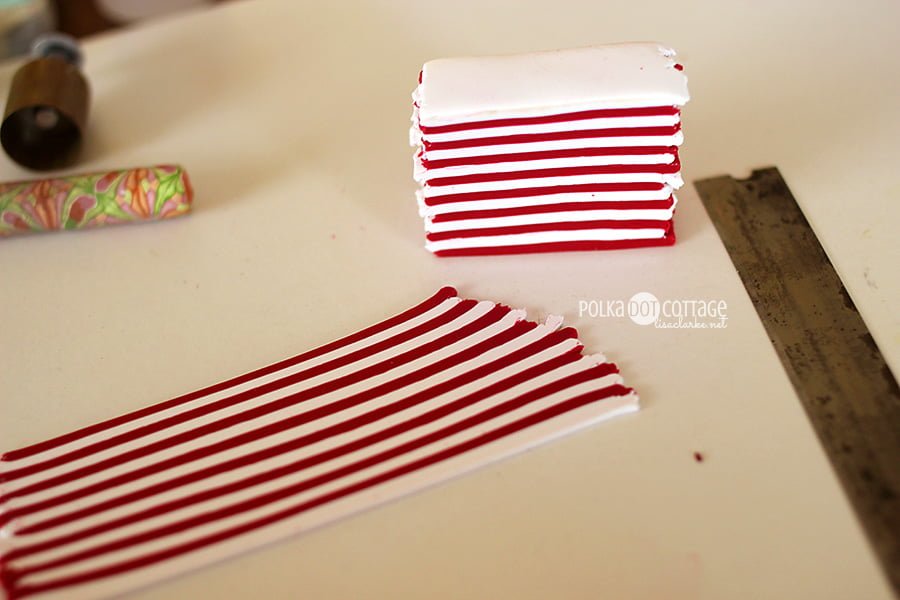
If stripes are your thing, try this old tutorial of mine. I didn’t make these that way – I used a pasta machine to build a striped cane for uniform striping. But if you don’t have a pasta machine, or you like a bit of asymmetry, the tutorial should do you just fine.
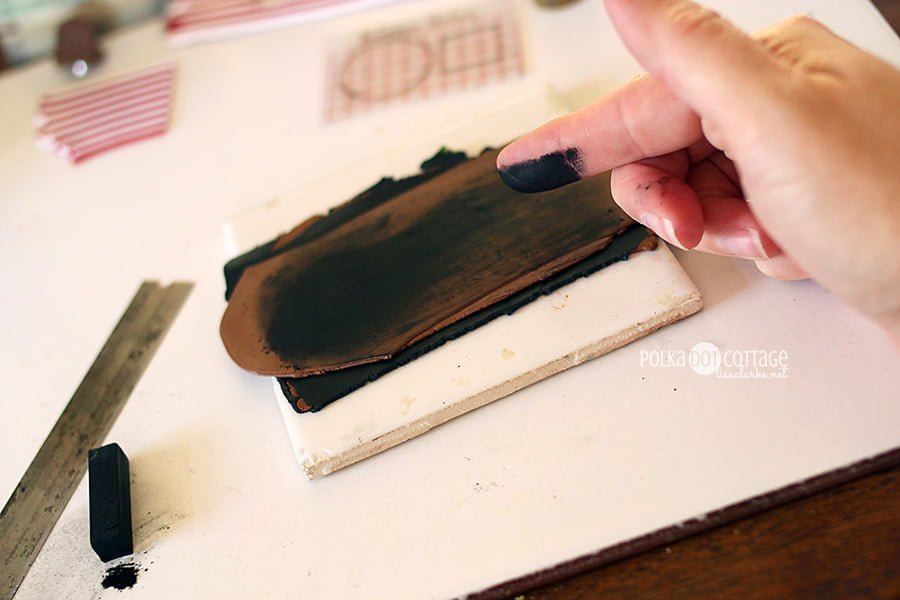
The last set of buttons is for a sweater that doesn’t exist yet. This set was made almost exactly the same way as the rustic buttons I showed you last month, but they are less complicated. Instead of using multiple colors of pastels and cutting up the sheet, I just went with solid black. In the end, it might have been too much black, but I think they’ll still do.
Those buttons will be on the front of a cardigan at some point. I was thinking originally in terms of Christmas gifting (as you may know) but I am pretty sure I have talked myself out of that at this point. I think. Probably.
Tomorrow I will show you the cute little sweaters that the stripes and polka dots were made for. See you then!








Your “horribly wrong” buttons (last month) are the coolest mistake yet, Lisa. I would like to say your sweet baby sweaters make me want to take up knitting, but that. would be. a lie 🙂 I’ll leave that to you multi-talented Renaissance women.
Can’t wait to see your patchwork!
Oh, my goodness! So cuuuute!! 🙂
All the buttons are cute but I really love the brown/black ones! Really pretty!
[…] showed you the buttons yesterday. Today it’s time to show you where they ended […]
[…] had no idea you could make buttons. Lisa Clarke shows you how over at Polka Dot […]
[…] try to resist these urges, but I seem to be helpless. Plus, I’d already bought the yarn and made the buttons… it had to be fate, right? Of course it […]
[…] http://lisaclarke.net/2013/11/18/buttons/ […]