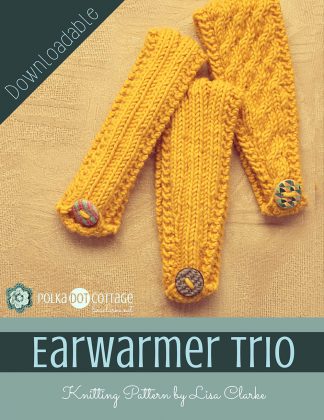
Ok, loom-knitters, as promised, I have a little something extra special for you today. Not only am I going to share the loom version of the simple ribbed earwarmer from this collection with you, but I’m going to explain to you how I convert a needle-knit pattern to a loom-knit pattern. And there will be a video, too.
See? Told ya I’d take care of you 🙂
First, I’ll share the original pattern. Then we’ll discuss things like choosing the appropriate loom for the task, and knowing how to deal with right-side and wrong-side issues. After that, we’ll translate the pattern, I’ll show you (via video) how I loom-knit it, and I’ll give you a tip for translating patterns with more complicated stitches.
P.S. You needle knitters can take the pattern below and run with it, if you like. Consider it a free excerpt from the ebook.
The original pattern as written
Materials and Tools
1 skein Valley Yarns Berkshire Bulky in Gold (100g/141yds)
1-inch button
Size 10 straight needles
Size J crochet hook
Yarn needle
Scissors
Directions
CO 14 st.
- k2, p1, k3, p2, k3, p1, k2
- k3, p3, k2, p3, k3
Repeat 1-2 for 21″ or until desired length.
BO, leaving last st on needle.
Transfer stitch to crochet hook and ch 5.
Attach to beginning of bind-off row with sl st.
Fasten off.
Weave in ends.
Sew on button.
How to rewrite the pattern for a loom
Translating a pattern can be easy (if it’s a bulky tube, for instance) or more complicated (like, if it’s a fine-gauge lace scarf with shaping). Here are some of the things you need to consider:
Evaluate the pattern’s rewrite-ability
Determine if translating this pattern is worth your time by asking yourself a few questions:
- Do I own a knitting loom in a gauge that matches the pattern’s gauge? (more on that below)
- Is there a lot of shaping in the pattern, or other advanced techniques that may prove to be complicated (if not impossible) on the loom? For example, a circular knit with increases and decreases will pose a problem unless you have an adjustable loom. And even if you do have an adjustable loom, adding and subtracting the appropriate number of pegs for each increase and decrease may prove to be more trouble than it’s worth.
Rule of thumb: if the pattern is a bulky-yarn rectangular knit with no shaping and 48 stitches or less per row, you should have no problem translating it to use with a round Knifty Knitter.

Speaking of Knifty Knitters, if that’s what you currently own, and if you want more options, consider investing in a Martha Stewart loom. I resisted this for a long time, but I finally bought one when I was unable to get this earwarmer project to look like I wanted it to. The Martha loom is really cool. You can configure it into many different shapes and sizes, and the pegs are removable, so you can control how far apart they are from each other. The pegs also come in two different sizes, which is awesome. Essentially, what I am saying here, is this loom kit offers you additional sizes and (more importantly) additional gauges for only a few dollars more in price than a Knifty Knitter round loom set. I highly recommend it.
Select the appropriate loom
Ok, so my raving about the Martha loom aside, if you want to maintain the look and feel of the original pattern, you need to choose a loom (and a yarn) that will result in the same gauge as the pattern.
Let’s just assume that you are already using whatever yarn the pattern author suggested. That leaves you only to compare needles and looms. I used trial and error for this myself and came up with these basic guidelines:
If the pattern calls for size 13 needles, try a Knifty Knitter, or a Martha Loom with the large pegs positioned in every other hole.
If the pattern calls for size 8 needles, try a Martha Loom with the small pegs positioned in every hole.
Now, of course, there are many other needle sizes than these, and your own personal knitting style will also come into play. If the gauge of the pattern is crucial, then knit a swatch before you begin, and check your gauge once and for all. Once you’ve checked your gauge, there’s not a lot you can do to change it if you’re using a Knifty Knitter, but if you have a Martha Loom, or other loom with removable pegs, you can play around with the configuration to try and adjust your gauge to what it needs to be.
If you just can’t make it work with what you own you have three options:
- try a different yarn (you risk changing the character of the finished object, though)
- buy a new loom in a more appropriate gauge
- scrap the project and try something else
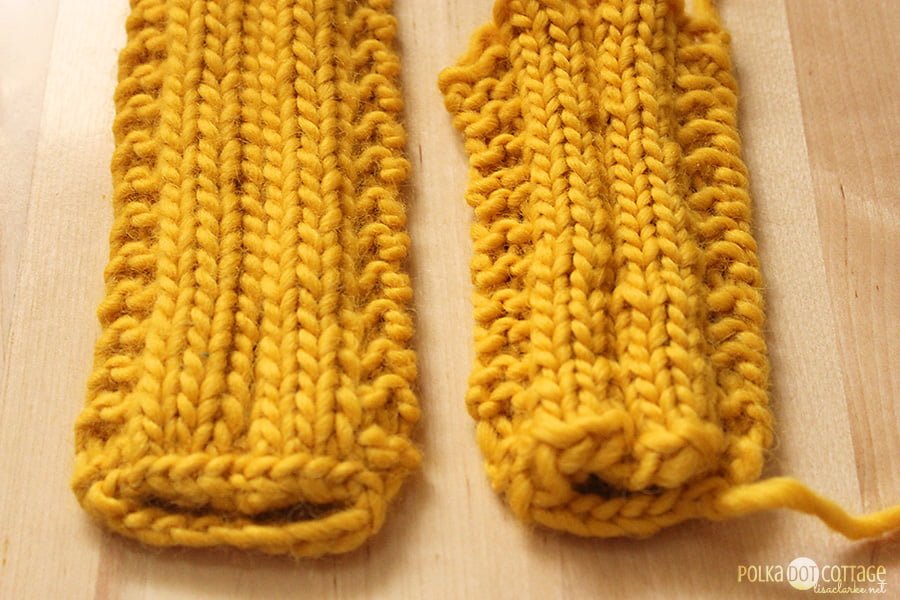
Full disclosure: my own experience knitting the headband on the Martha loom resulted in a slightly smaller gauge than the one I knit with needles. It actually also made a puffier fabric, where the ribs were more well-defined. I liked it that way, however, and decided to keep it.
Think about right sides and wrong sides
If you are translating a circular knit, then congratulations, you are already finished: in a circular pattern, the right side of the work is always facing you, whether you use needles or a loom. Therefore, the pattern is the same. (Hooray!)
If you are knitting a flat piece, there are other considerations. Think about how flat pieces are knit on a loom and on needles (assume we have a 9-stitch pattern):
- Loom: knit row one, stitches 1-9, right side (RS) facing you, then switch direction to knit row two, stitches 9-1, RS still facing.
- Needles: knit row one, stitches 1-9, RS facing you, then flip the work over to knit row two, stitches 9-1, wrong side (WS) facing.
Got that? Basically, when a needle-knit pattern tells you to do this on row 2: k3, p3, k3
it is really talking about doing those stitches on the wrong side of the work. But with a loom, we never work on the wrong side, and so we need to consider what the RS of the work looks like when we k3, p3, k3 on the WS.
Knit and Purl are the opposites of each other: when you knit on one side, you see a purl stitch on the other. When you purl on one side, you see a knit stitch on the other.
Therefore, if you are knitting row two with the RS facing, but the original pattern is for needles where the WS is facing, you need to knit the opposite of what is written. The example above would be translated as: p3, k3, p3.
The rule: RS rows are translated exactly as written. WS rows are translated as the opposite of what is written.
This is the most important concept when translating from needle-speak to loom-speak, so it’s worth reading this section again if it hasn’t quite sunken in!
Translate
Here is our simple needle-knit stitch pattern:
- k2, p1, k3, p2, k3, p1, k2
- k3, p3, k2, p3, k3
Row 1 is a RS row and therefore we don’t need to change it.
Row 2 is a WS row and therefore needs to be the opposite.
Here is our new loom-knit stitch pattern:
- k2, p1, k3, p2, k3, p1, k2
- p3, k3, p2, k3, p3
The other elements of the pattern (the cast-on and bind-off for instance) don’t need to be changed. Needle-knitters and loom-knitters have their own techniques for these things, but they don’t need to be spelled-out in the pattern. It’s just assumed that the basic versions for each craft will be used, unless otherwise specified.
The loomified pattern

Materials and Tools
1 skein Valley Yarns Berkshire Bulky in Gold (100g/141yds)
1-inch button
Martha Stewart Knitting Loom, with small pegs in every other hole
Size J crochet hook
Yarn needle
Scissors
Directions
CO 14 st.
- k2, p1, k3, p2, k3, p1, k2
- p3, k3, p2, k3, p3
Repeat 1-2 for 21″ or until desired length.
BO, leaving last st on loom.
Transfer stitch to crochet hook and ch 5.
Attach to beginning of bind-off row with sl st.
Fasten off.
Weave in ends.
Sew on button.
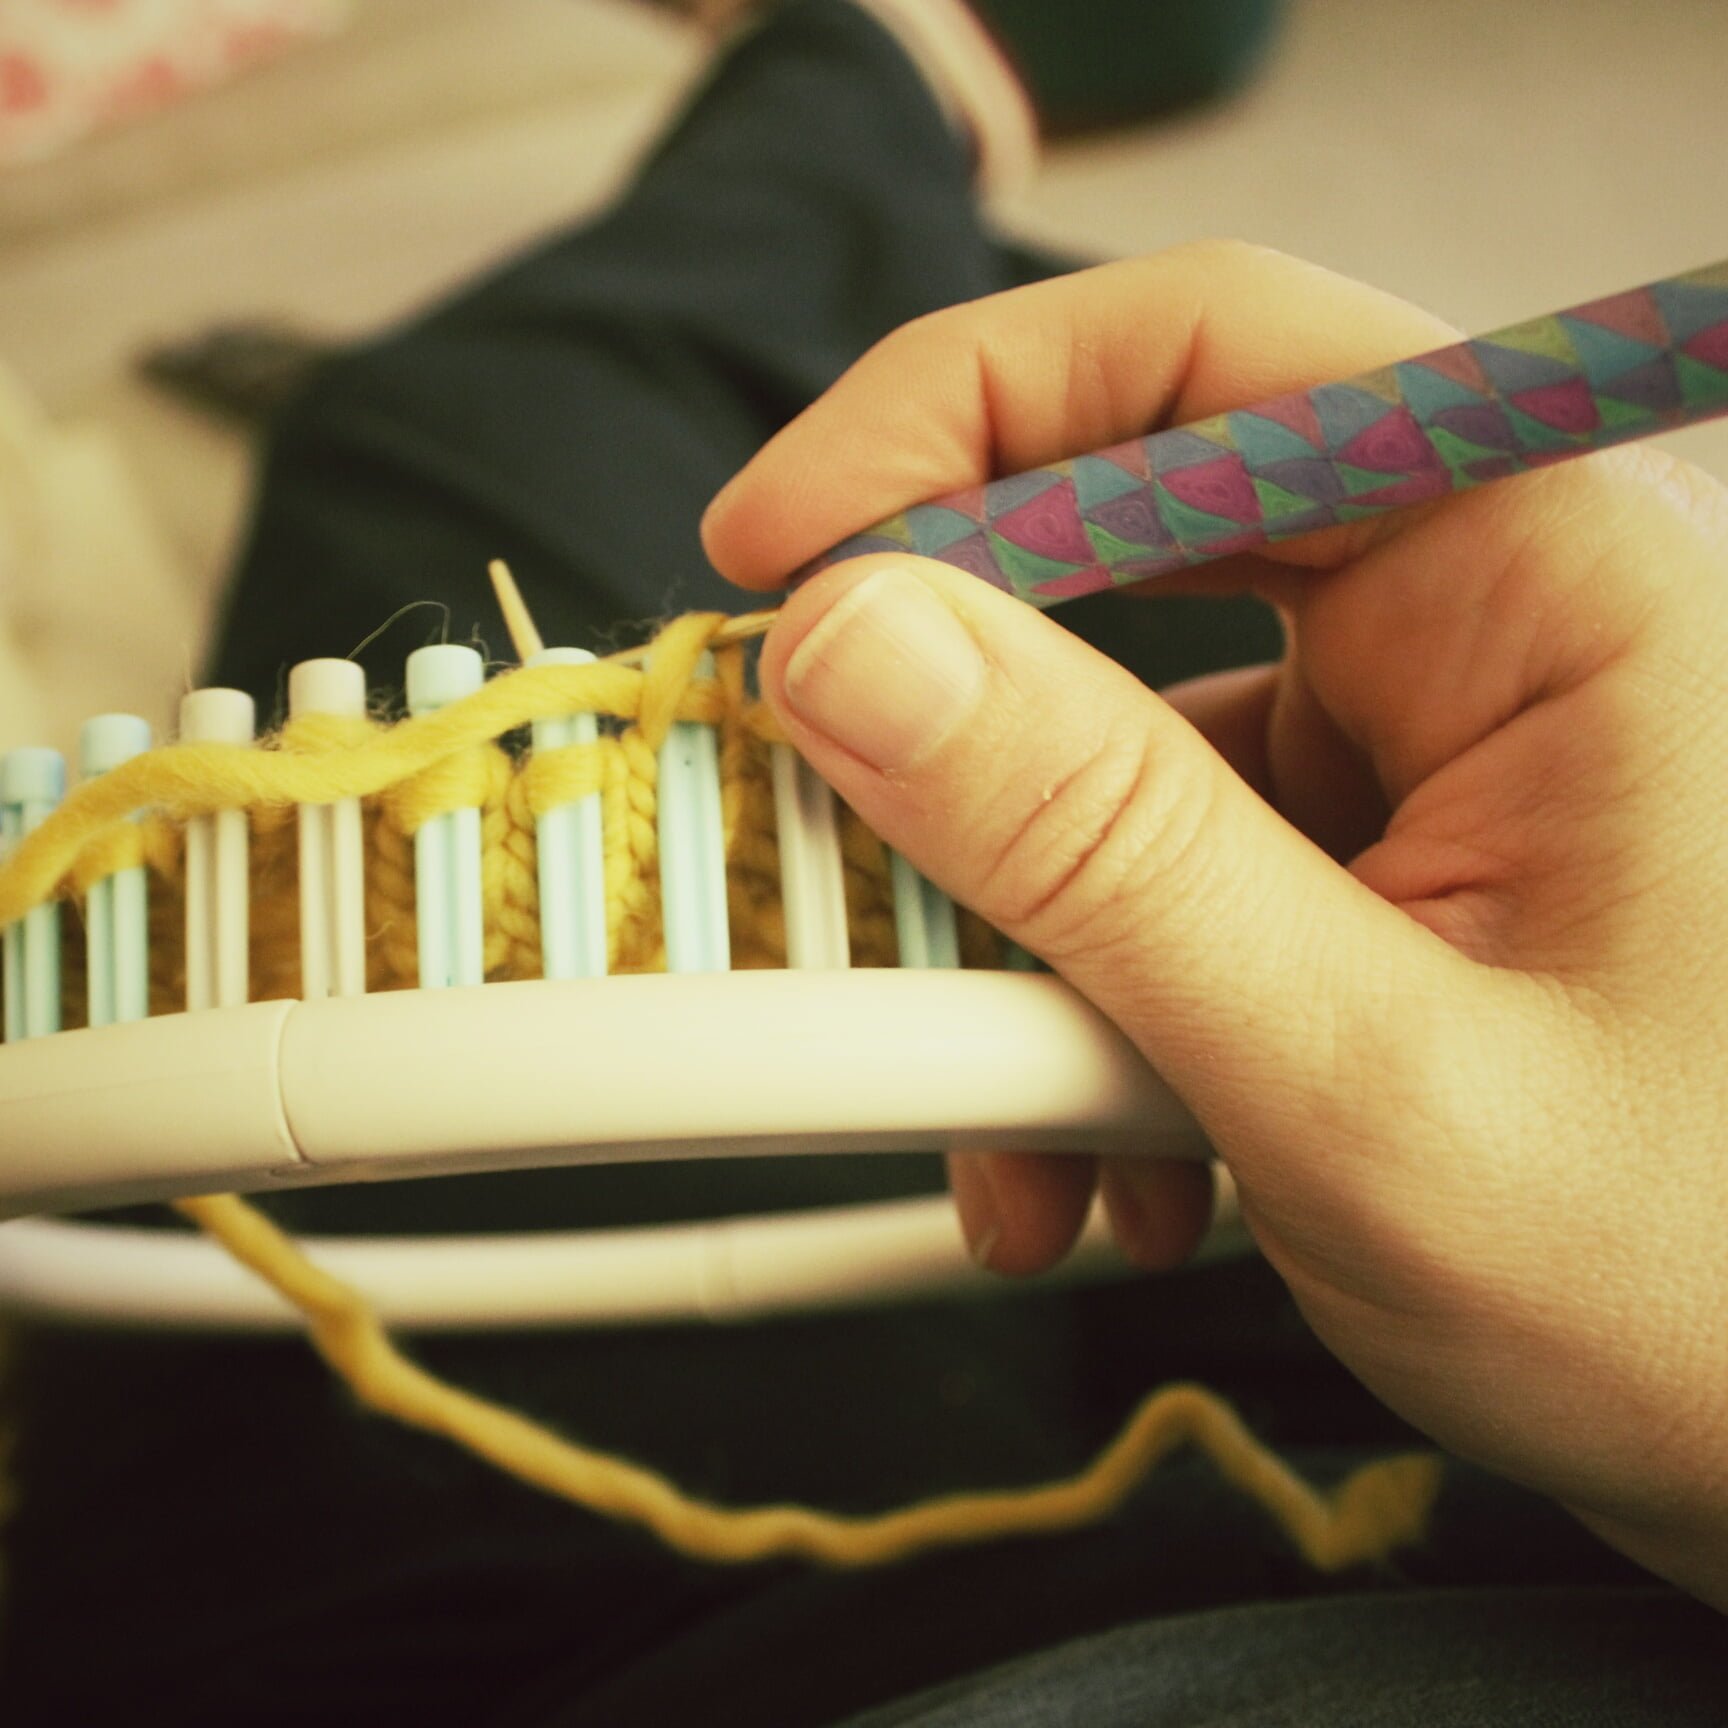
Demonstration
Now that you know how to translate a pattern, it’s time to loom knit this one! The video below takes you step-by-step through the process of loom-knitting the earwarmer. The e-wrap cast-on, knit stitch, purl stitch, and basic bind-off are all demonstrated.
Do It Yourself!
If you have an interest in trying your hand at translating the more complicated versions of this headband, go for it! It’s available for purchase below (or through this link).
Here’s a tip: during your translation, if you come across a stitch you don’t know how to do on the loom, chances are someone has demonstrated it on the internet. Search YouTube for it! For example, if you don’t know how to k2tog on a loom, enter “k2tog knitting loom” in the search box at youtube.com. You should get lots of demonstrations to choose from.