Have you ever wanted to crochet a cozy for your Google Home Mini smart speaker? No? I’m not surprised, because when I googled it recently, looking for a pattern, I came up empty. It appears nobody has ever done such a thing! And if they have, they haven’t bothered to blog about it.
Until now 😜
Why is this necessary?

Admittedly, I have a fairly narrow use case in mind. We got a Mini as a freebie a while back, and I already had one at the time, so we’ve got more than we technically need at home. I decided to bring one of them to work with me to use as a Bluetooth speaker.
Bringing this little guy to work with me means crippling it somewhat.
- I turned off the microphone so that it’s not always listening. (I didn’t think my bosses would appreciate a smart speaker hanging on the company’s every word.)
- Turning off the microphone meant the LEDs were always on, and always orange. I turned their brightness down as low as possible, but there’s no way to turn them off completely. (They’re meant to be a warning that the microphone is off.)
- I turned the volume waaaay down so that only I can hear it. I don’t want to bother my coworkers, but I don’t want to wear headphones or earbuds, either.
And thus, I turned my versatile smart speaker into a nearly silent dumb speaker. But it’s ok, because it’s exactly what I wanted, and now listening to music at my desk is such a pleasure.
Computer speakers have too much treble for my taste, and it’s hard to listen to music quietly with that much treble. It feels like I’m only hearing half a song. But this speaker delivers a much more full sound at a low volume. I’m still the only one who can hear it, but it feels louder, because I can hear more of the details of the music.
Reasons not to make this cozy
Covering up the speaker has the potential to muffle the sound, interfere with the microphone, and make it impossible to see the LEDs. In other words, it may cripple the device’s ability to function as a smart speaker.
But, I don’t care about those things. I am happy to have the LED’s hidden, I am not using the microphone at all, and I don’t mind if the sound is muffled (though, to be honest, I haven’t noticed that the cozy makes any difference in sound quality). Plus, this cover helps disguise the fact that I have a tasty little piece of technology on my desk that somebody might want to make off with.
If you’re with me, read on and learn how to make one of these yourself.
Crochet a Google Home Mini Cozy
This cozy is meant to fit snugly, but also be removable.
Supplies
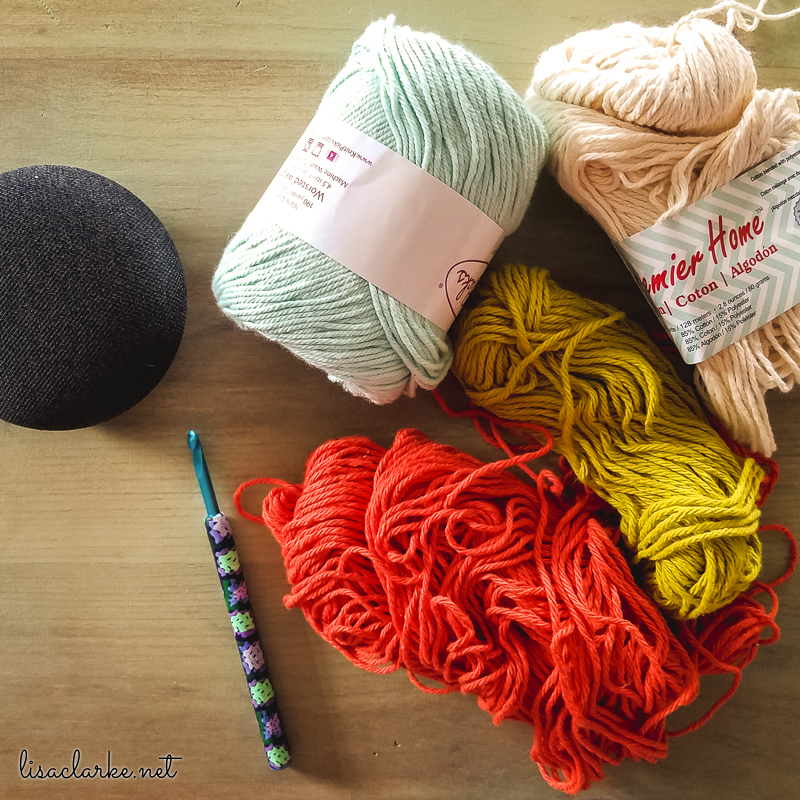
Size H(8) crochet hook, or size required to get the best fit around your Mini.
Small amounts of worsted weight cotton yarns in 4 different colors. I pulled the following from my stash:
- Color A: Vermillion: missing a label, but I think’s it’s Lion Brand Kitchen Cotton, which is no longer made
- Color B: Chartreuse: missing a label, but is probably more Kitchen Cotton
- Color C: Aqua: Knitpicks Dishie in Mint (27041)
- Color D: Off White: Premier Home Cotton in Cream (38-02)
Scissors
Yarn needle
Directions
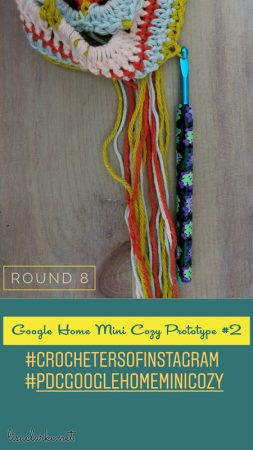
I posted step-by-step images to my Instagram story as I worked on this, so I re-used them here. I could have taken the time to remove the extra text at the bottom, but I really didn’t feel like it. If I ever decide to turn this into a PDF for sale, then I’ll take more care with my imagery. For now, though, I’m sure you don’t mind 😜
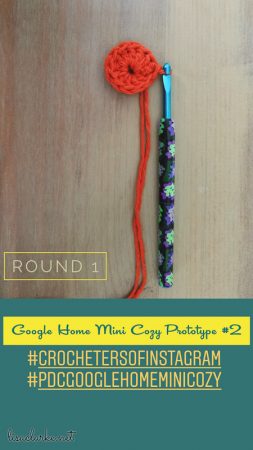

- With Color A, make a magic ring
- Round 1: ch3 (counts as dc here and throughout), 11dc into ring. Fasten off A.
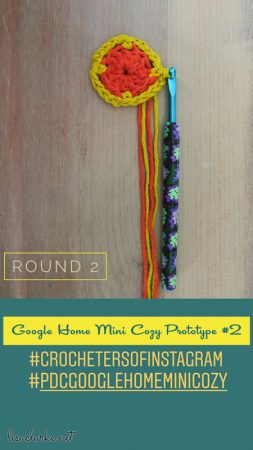
- Round 2: Attach B in the top of any dc. Ch1, [sc, ch5, sk next 2 sts] 4 times, join with a sl st at starting ch. Fasten off B.
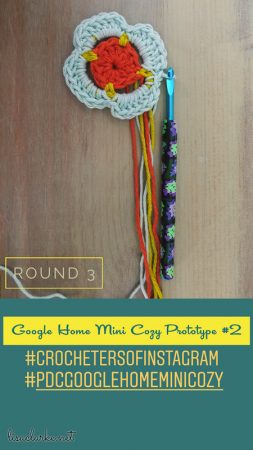
- Round 3: Attach C in any ch5 space. Ch3, 6dc, sc in same space, [7dc, sc in next ch5 space] 3 times, join with a sl st at the top of the starting ch3. Fasten off C.
- Round 4: Attach B in the top of any 3rd dc in previous round. Ch1, [sc, ch9, sk next 8 sts] 4 times, join with a sl st at starting ch. Fasten off B.
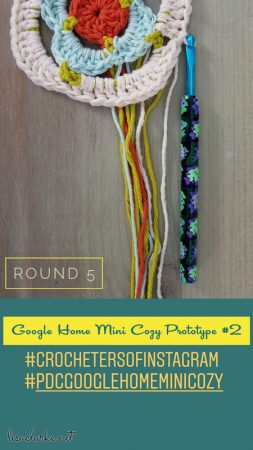
- Round 5: Attach D in any ch9 space. Ch3, 11dc, in same space, [12dc in next ch9 space] 3 times, join with a sl st at the top of the starting ch3. Fasten off D. At this point, the cozy should almost reach the edges of the Mini.
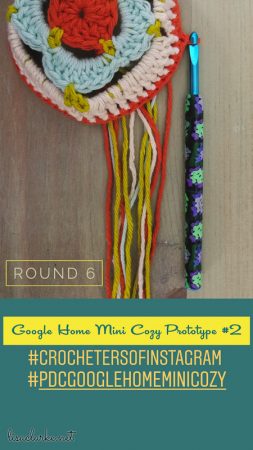
- Round 6: Attach A in any st. Ch1, sc around, join with a sl st at starting ch. Fasten off A.
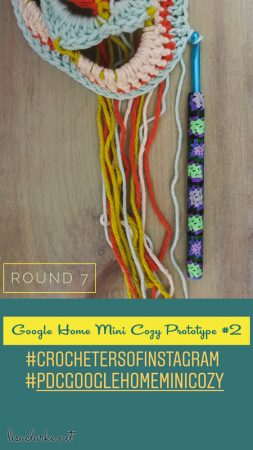
- Round 7: Attach C in any st. Ch2, hdc around, join with a sl st at the top of the starting ch2. Fasten off C.
- Round 8: Attach B in any st. sl st around, join with a sl st at starting ch. Fasten off B.
- Weave in ends, and place on top of the Mini.
Admire Your Work
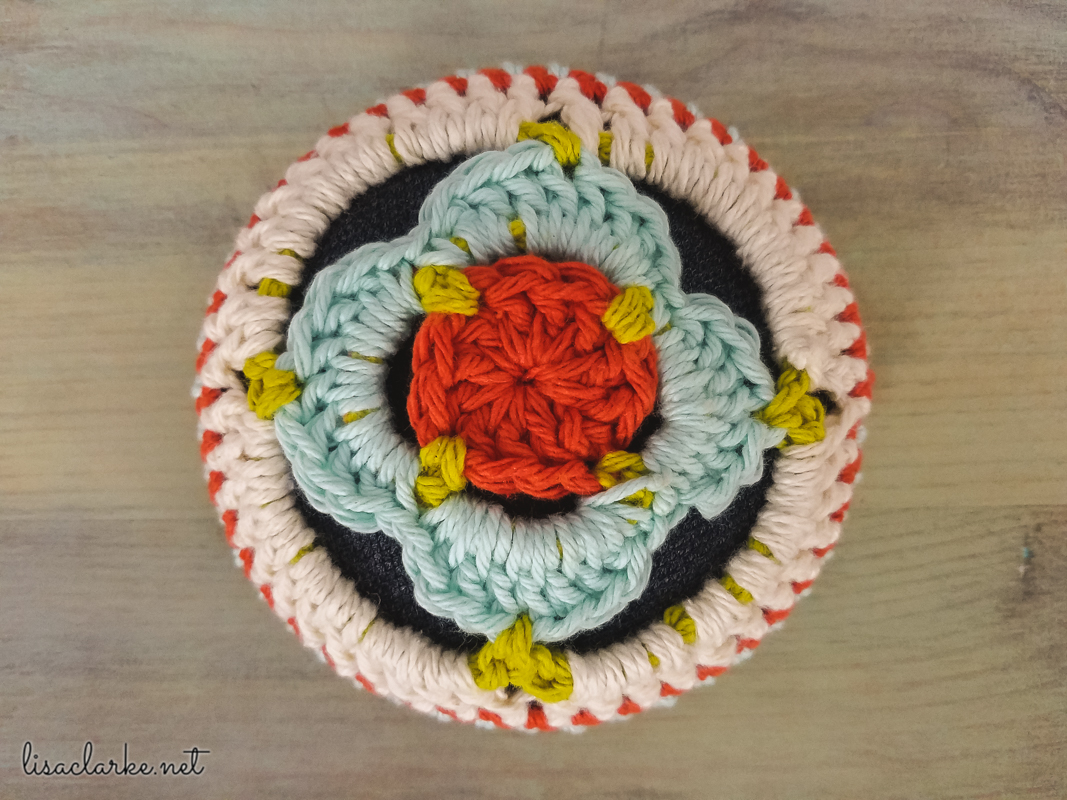
This is what it should look like:
When you try the cozy on your Mini, It should have a gentle curve and stretch. It should hug the Mini but not too tightly. You should be able to easily remove the cozy, if you no longer want to use it.
My Mini has been living comfortably on my desk for the last few weeks, and I think it looks great with it’s snazzy little cozy. It’s right at home with all of the other handmade doo-dads on my desk 😍