

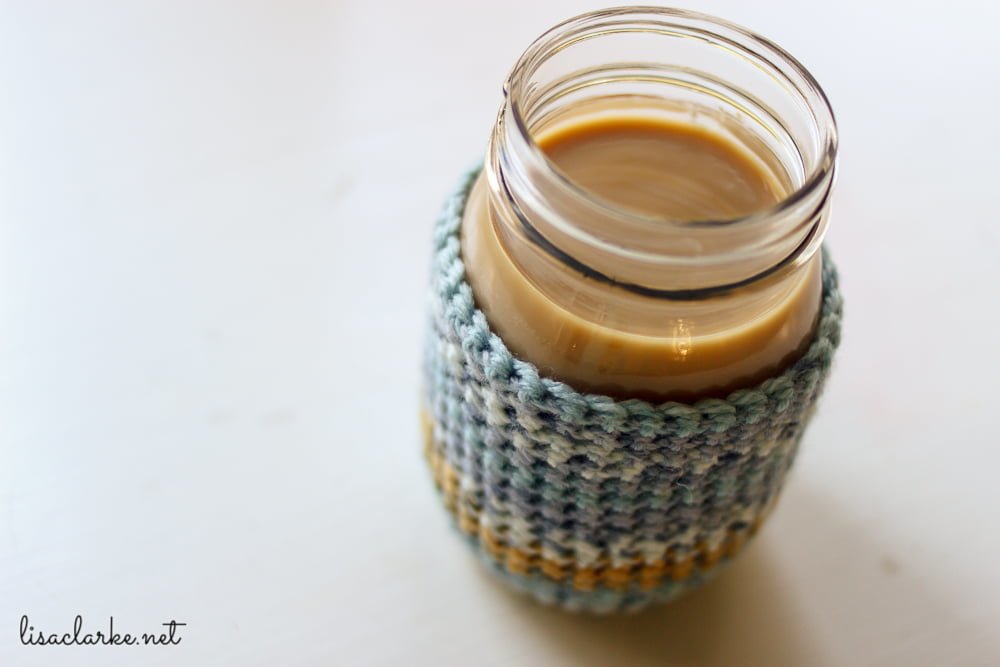
I have this knit coffee cup cozy that I bought last year at some charity thing, and I have been using it when I have coffee or tea in mason jars, but it has two problems:
- It’s all stretched-out after a year of use.
- It is only a simple tube, and I usually have to put my hand on the bottom of the jar to make sure the jar doesn’t fall right through the cozy. And that can get a little toasty on the fingers.
So on Friday night, I was feeling a little burned-out on the knitting thing, but I wanted to do something creative with my tv-watching. I grabbed a self-striping ball of worsted yarn from my stash, a crochet hook, and this tutorial, and got started.
Only it didn’t really work for me. My gauge was way too tight, and I found that I was struggling to single-crochet the “correct” way and still have enough spare attention to follow the plot on Falling Skies.


So I switched to a larger hook, decided to single crochet through the back loops (which felt more natural at the time) and just wing-it the rest of the way.
Here is my pattern, if you can call it that. Be open to going with your gut on this. Change the hook size, make it shorter or taller, crochet through whichever loops you like (front, back, both). This is just a guide to get you started.
I used a worsted-weight yarn and a K hook and I crocheted through the back loops the whole time.
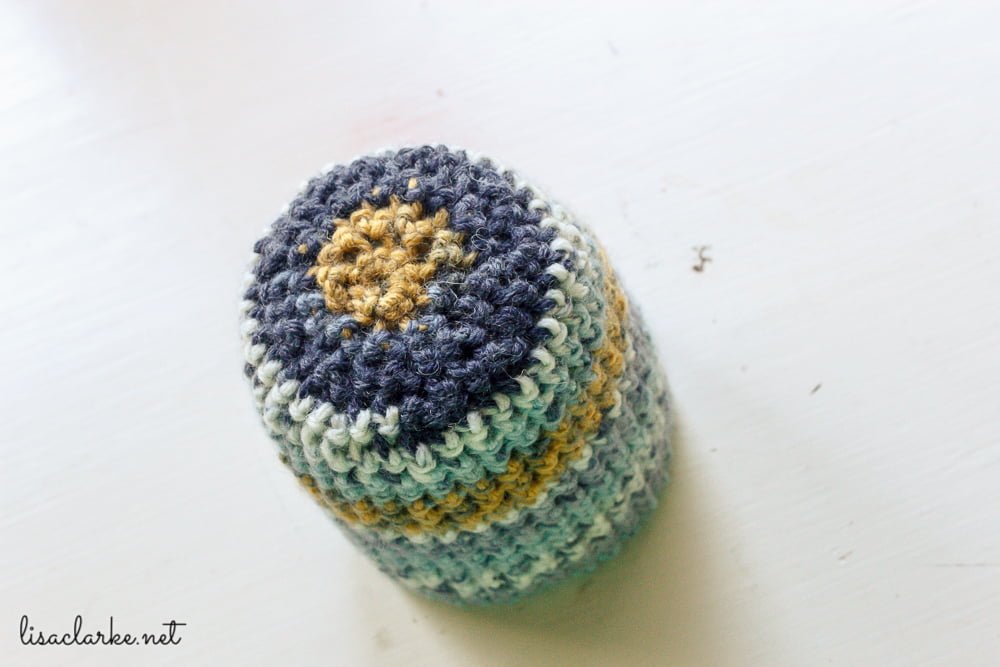
Bottom of the cozy:
Round 1: ch 2, 9 sc in 2nd ch from hook. (9 sts)
Round 2: 2sc in each st of previous round. (18 sts)
Round 3: [2sc in next st, sc in next st] 9 times. (27 sts)
Measure the cozy against your mason jar’s bottom. Does it reach the edge of the bottom? if not, crochet another round. For my jar, I needed the 4th round.
Round 4 (if needed): [2sc in in next st, sc in next two sts] 9 times. (36 sts)
That should be sufficient to cover the bottom of your mason jar, but if it’s not, you’ll need to add more rounds, increasing every 4th st (for Round 5), every 5th st (for Round 6), and so on until you have enough rounds to cover the bottom of the jar.
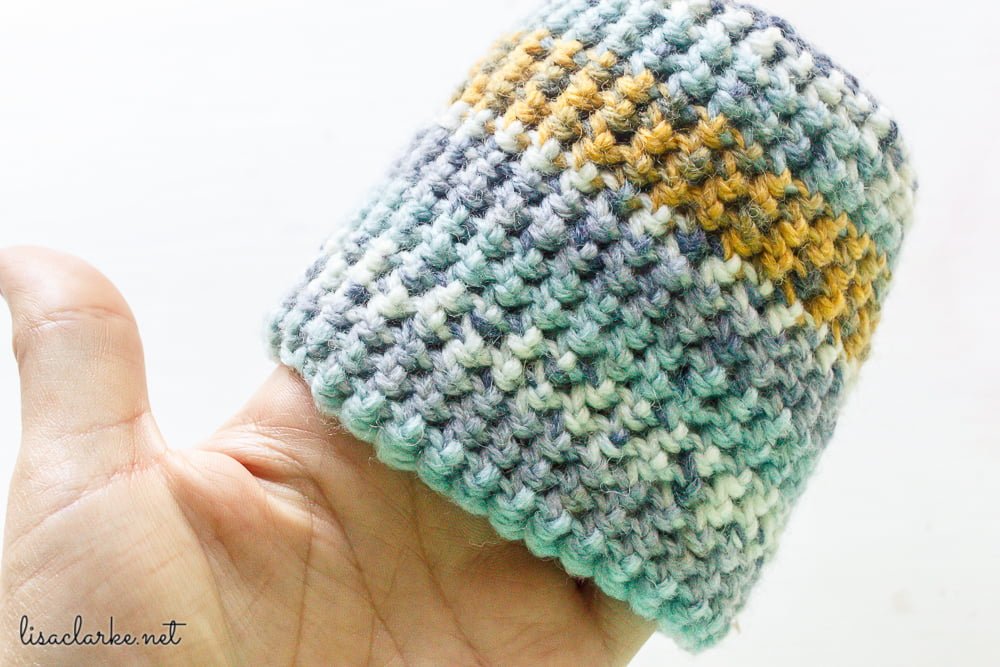
Straight sides:
All rounds: sc in each st around.
Continue until just before the cozy reaches the point near the top of the jar where the sides begin to taper in.
Sl st into first st of previous round. Fasten off. Weave in ends.
And there you have it! Please let me know if any of this is unclear.
Also, you might find the original tutorial that inspired me to be more to your liking. You can check that out here. She has a clever way to determine how many stitches in circumference you will need your cozy to be.
Happy hot-beverage-in-a-mason-jar drinking!


Oh, nice! Thank you so much for sharing your pattern. I am going to make this!
You’re welcome! I hope some pretty cozies are in your future 🙂
That’s such a great idea! And very pretty too 🙂
Thank you. I love the self-striping yarn. It takes all of the work out of it 🙂
Oh they joys of pattern adapting. I find myself often “going rogue” and changing a needle or using something other than the recommended yarn. Lisa it looks like you’re a rebel too!
I made a newborn fox-style set recently (here: http://wp.me/p55lgF-b) and even though I had the recommended yarn I had an idea for a fluffier tail and ears so I went and bought something else. Loved the results!
That is *so* adorable! Did the baby come when you predicted it would?
[…] coasters. I also came up with a grand idea to supply my kitchen with a set of at least 3 striped mason jar cozies, but I quit after the first […]
[…] used a random ball of cheap cotton and a K hook, and I adapted my Mason Jar Cozy pattern as follows: I crocheted a 9-round base (instead of 4) and then worked up the sides straight, trying […]