So how was Lesson Two of the Beginner Button Class for you? There weren’t very many comments or additions to the gallery. Don’t be shy! If you have questions, please ask them. And if you make the buttons, please show them off! The galleries will remain open for at least a month after the lessons are posted (I’m considering leaving them open even longer), so jump in whenever you can.
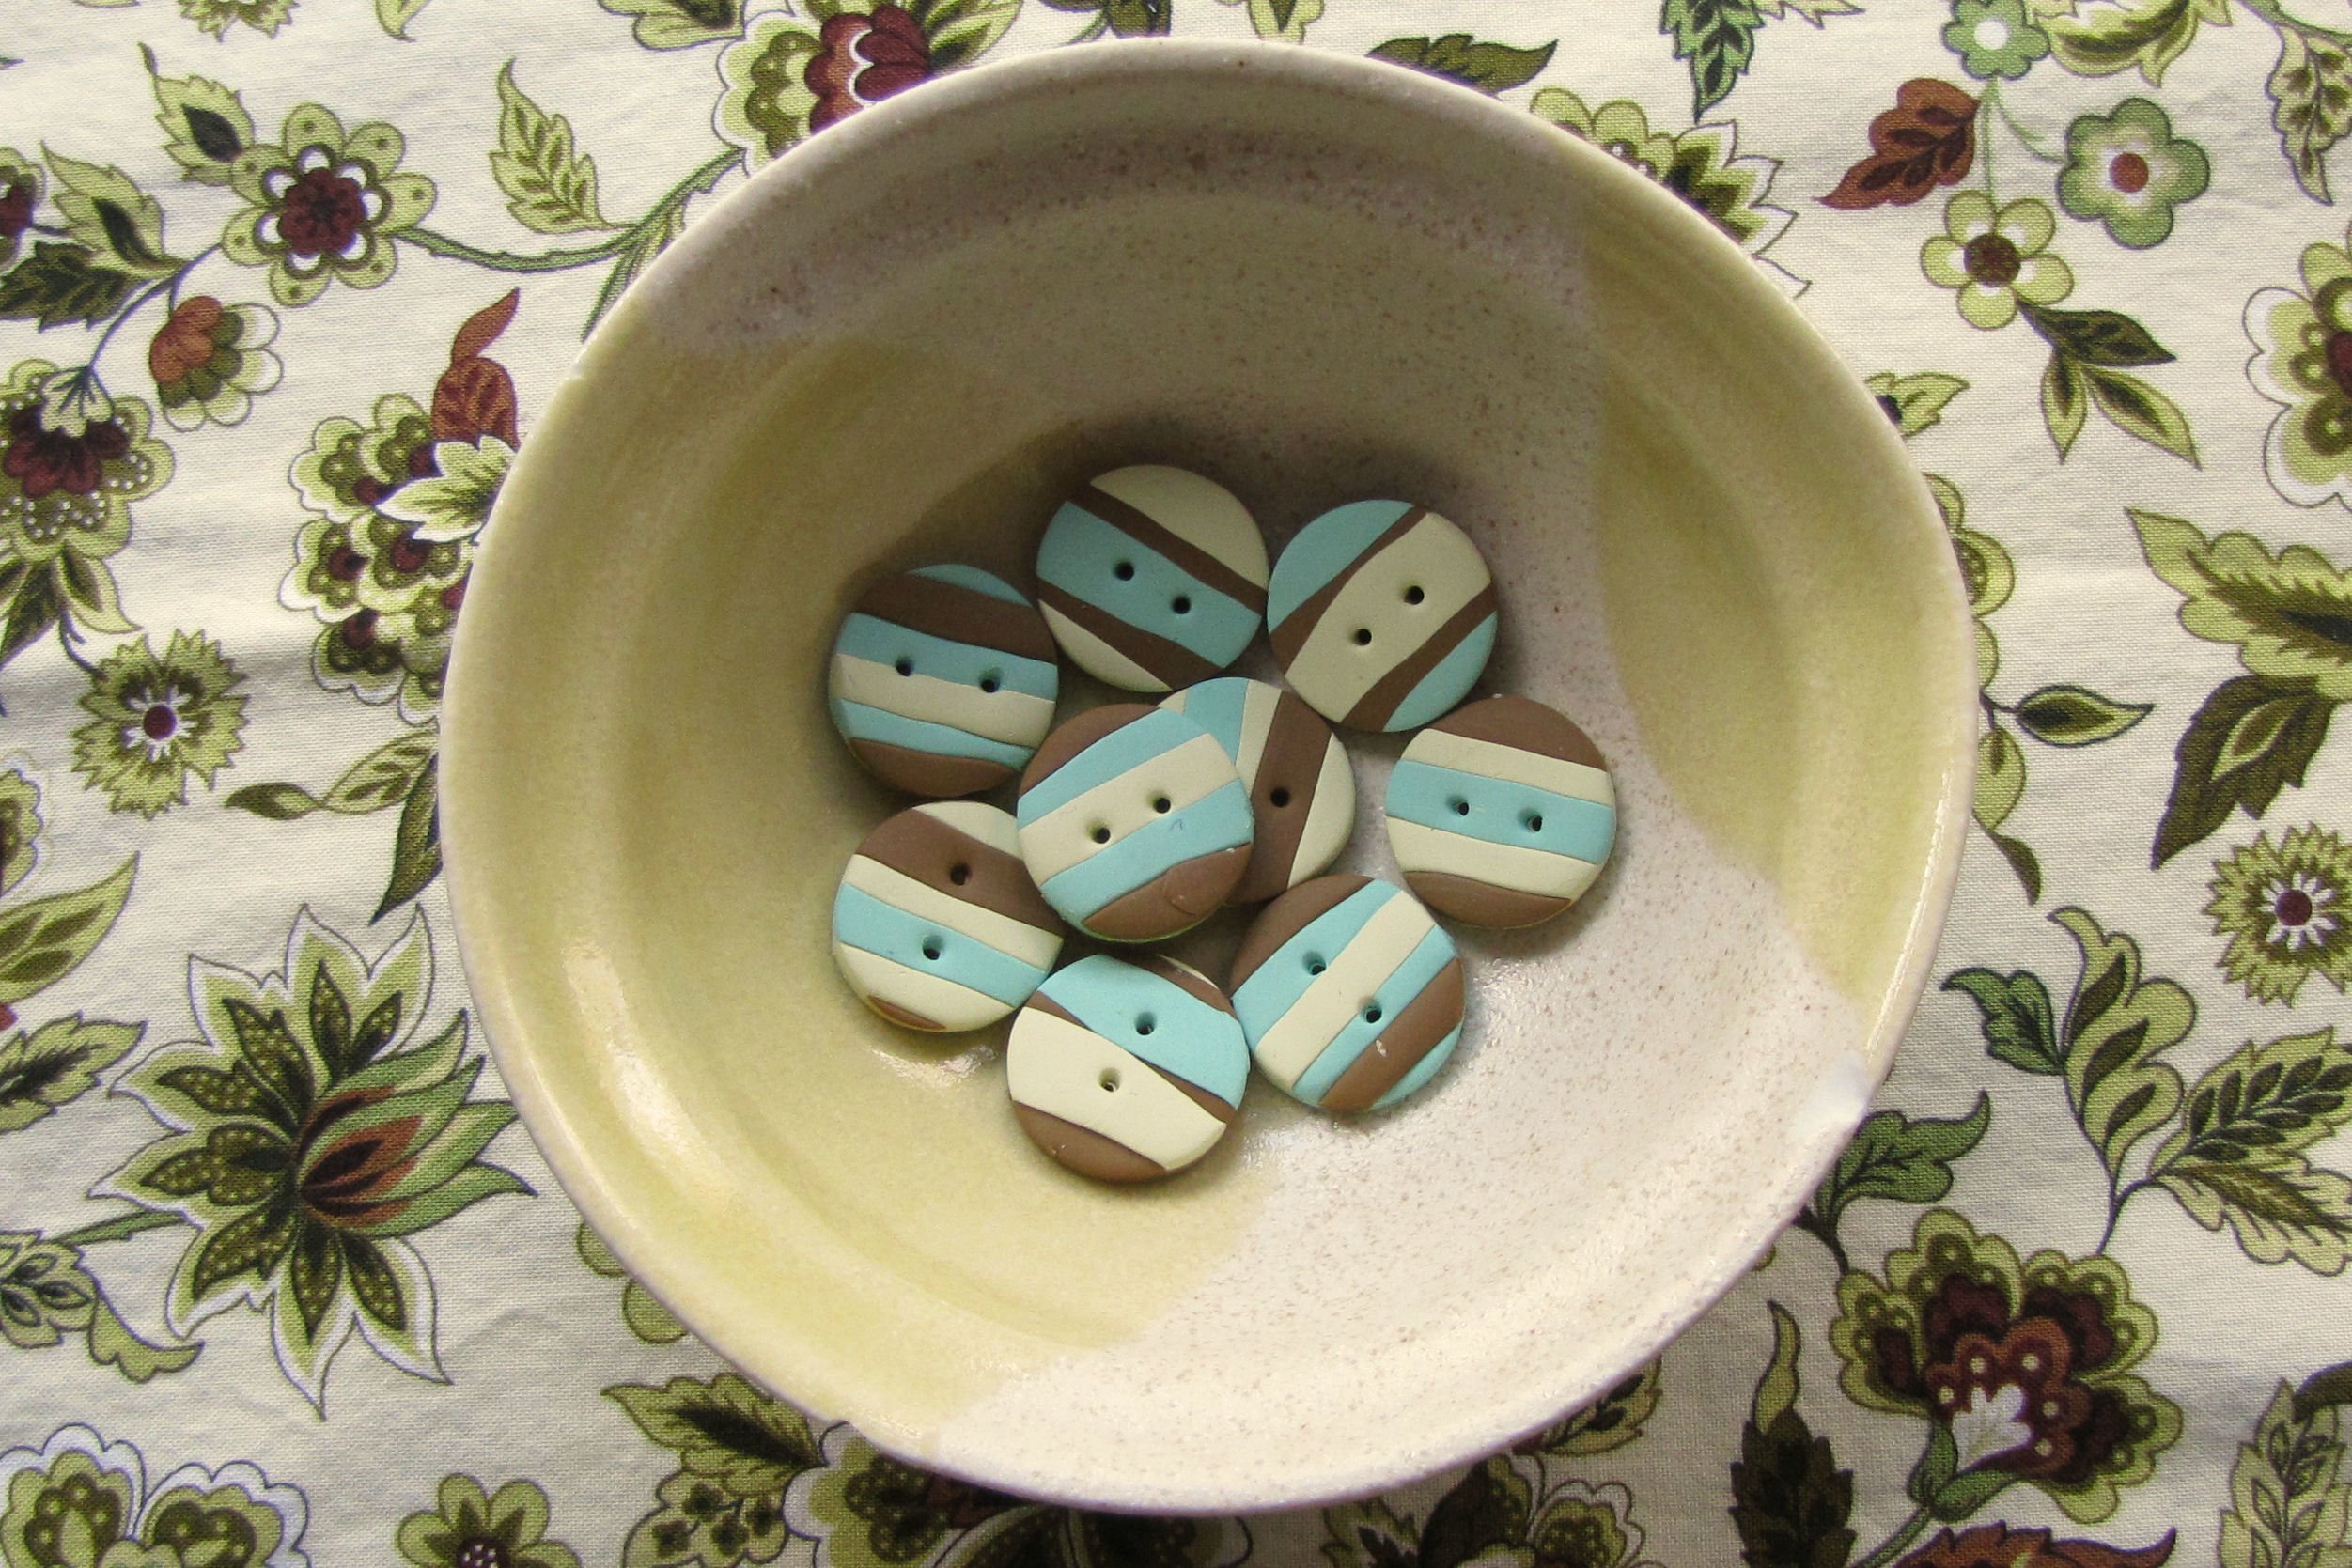
For this third lesson, we will be creating stripes, and using a cookie cutter to make consistently-shaped buttons. We’ll be making nine of them, three in each background color.
If you need a refresher on Conditioning or Baking your clay, you can find these instructions, as well as a Supplies + Tools list in Lesson One.
Additional Tools
- 3/4-inch round cutter. I have a large nested set like this one, which I love, but you can find smaller more affordable options at Polymer Clay Express, if you can’t find them locally.
- brayer or acrylic rod. Or, even the side of a straight-sided drinking glass that is no longer being used in the kitchen. You just need something to flatten snakes of clay with.
Directions
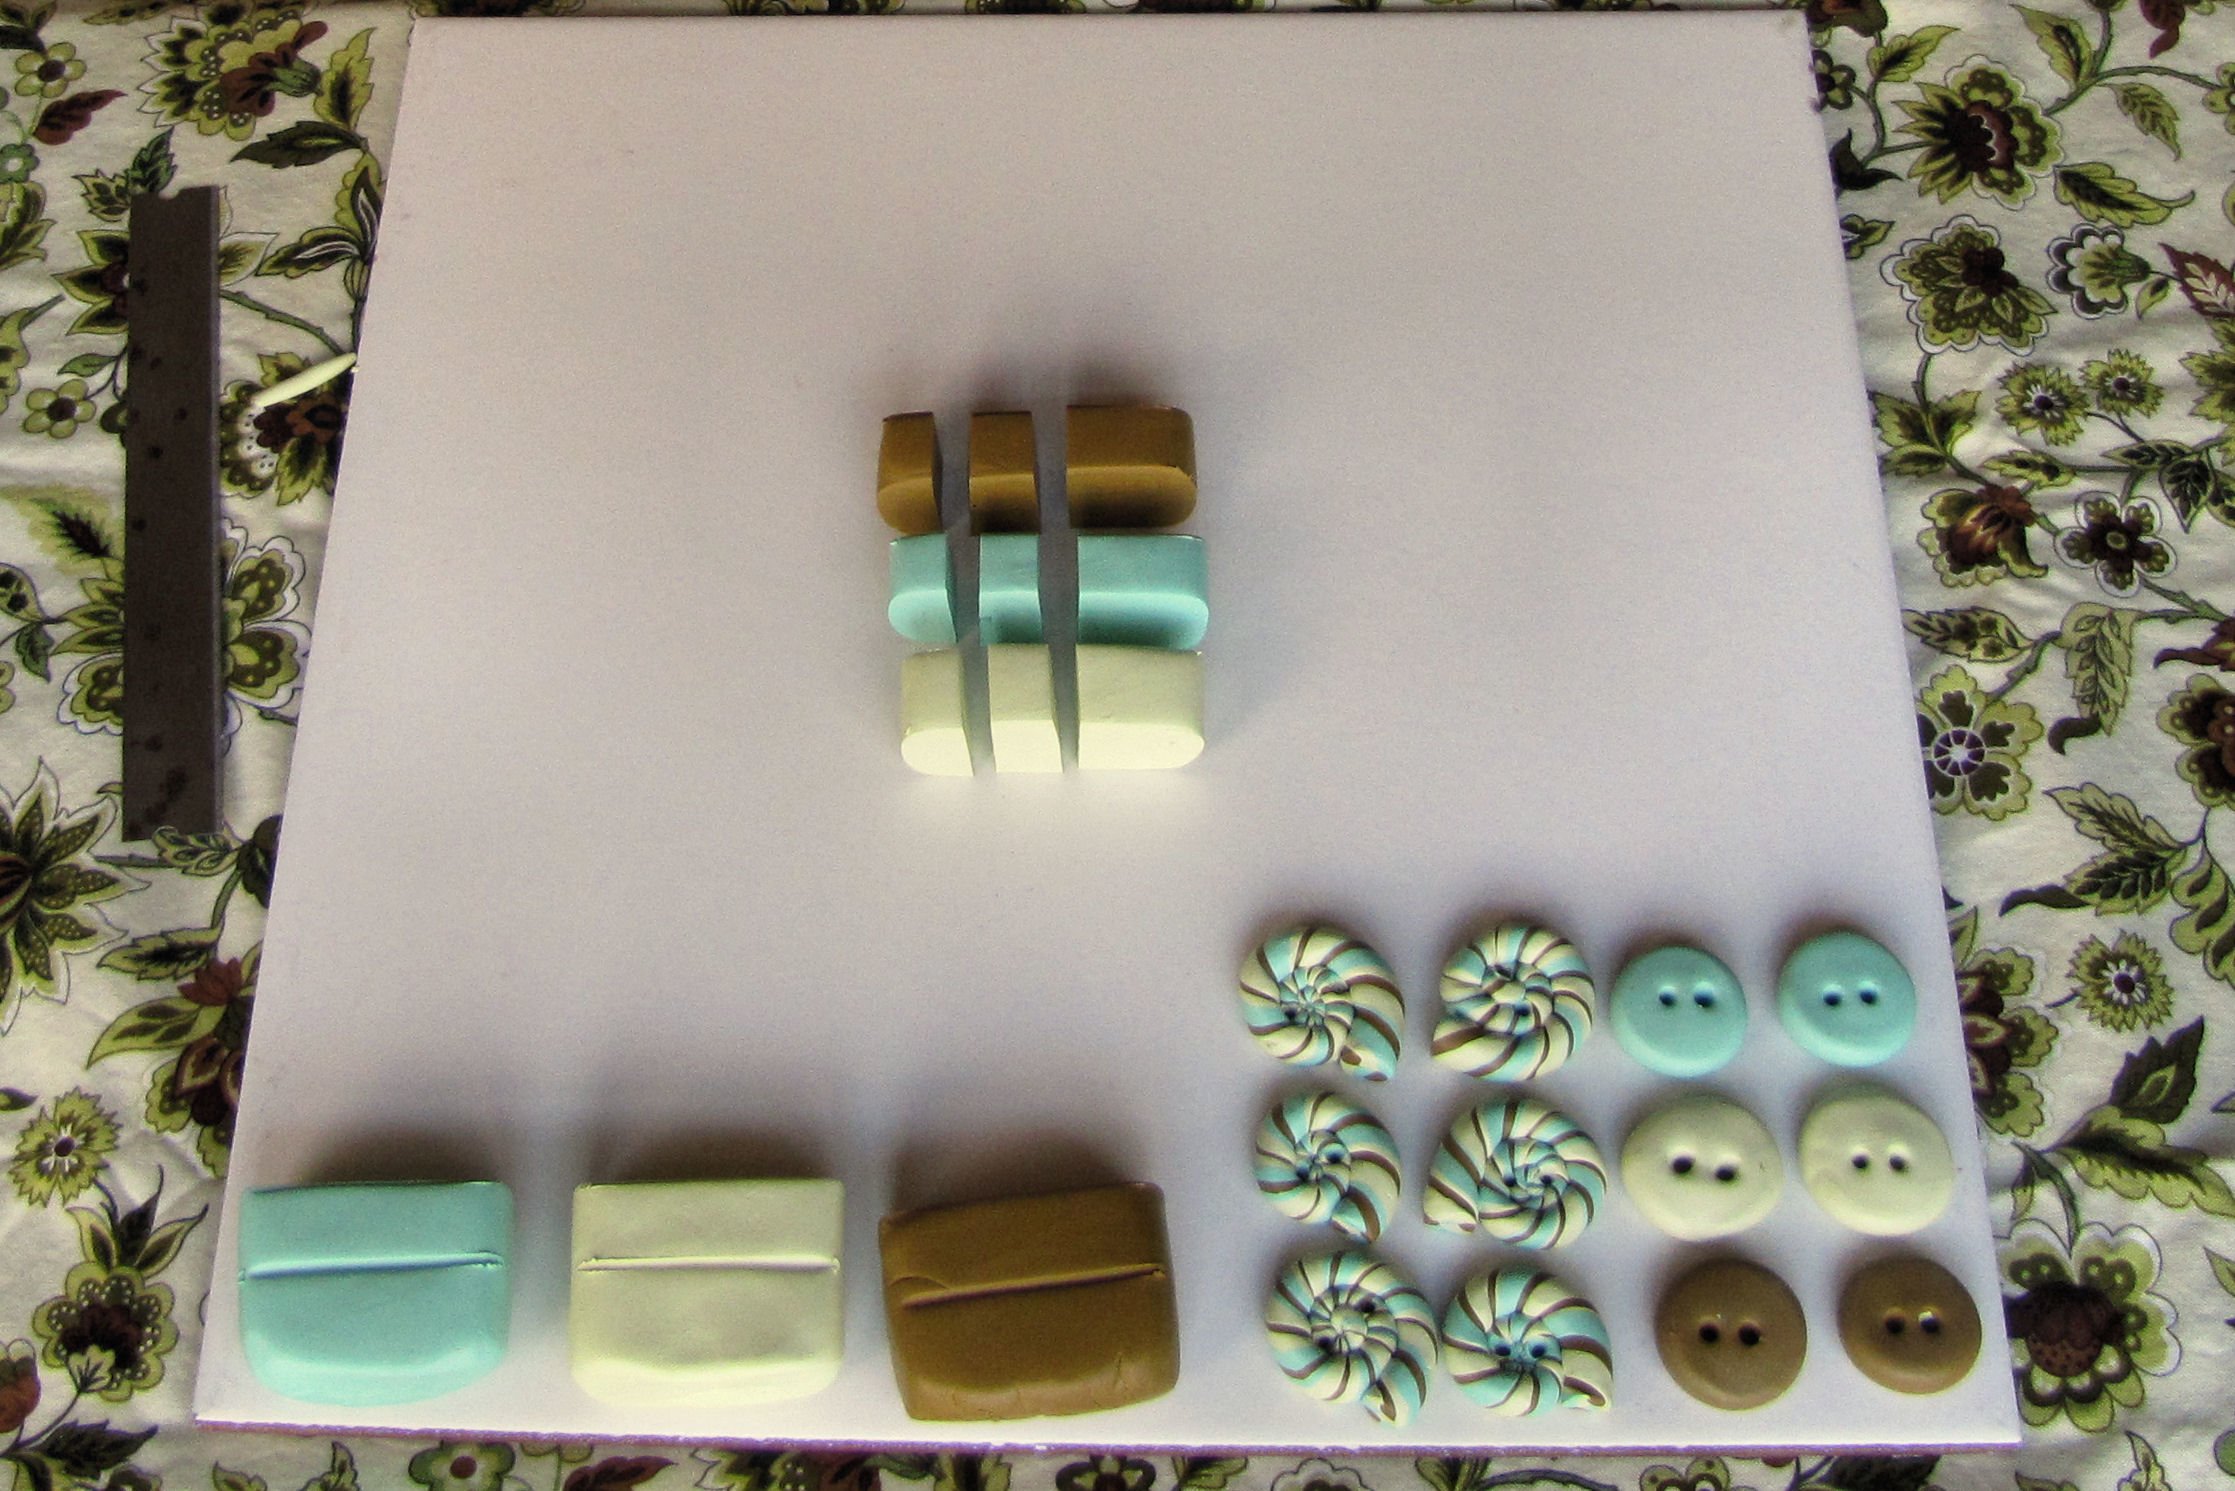
For these buttons, we’ll be using 1/4 block of each color. Cut each quarter in half, and then one of each half in half again, so that you have three pieces (2 small, one larger) of each color as shown. Select one of the larger pieces to use as your base, and two of the smaller pieces to use as stripes, and set the other sections aside.
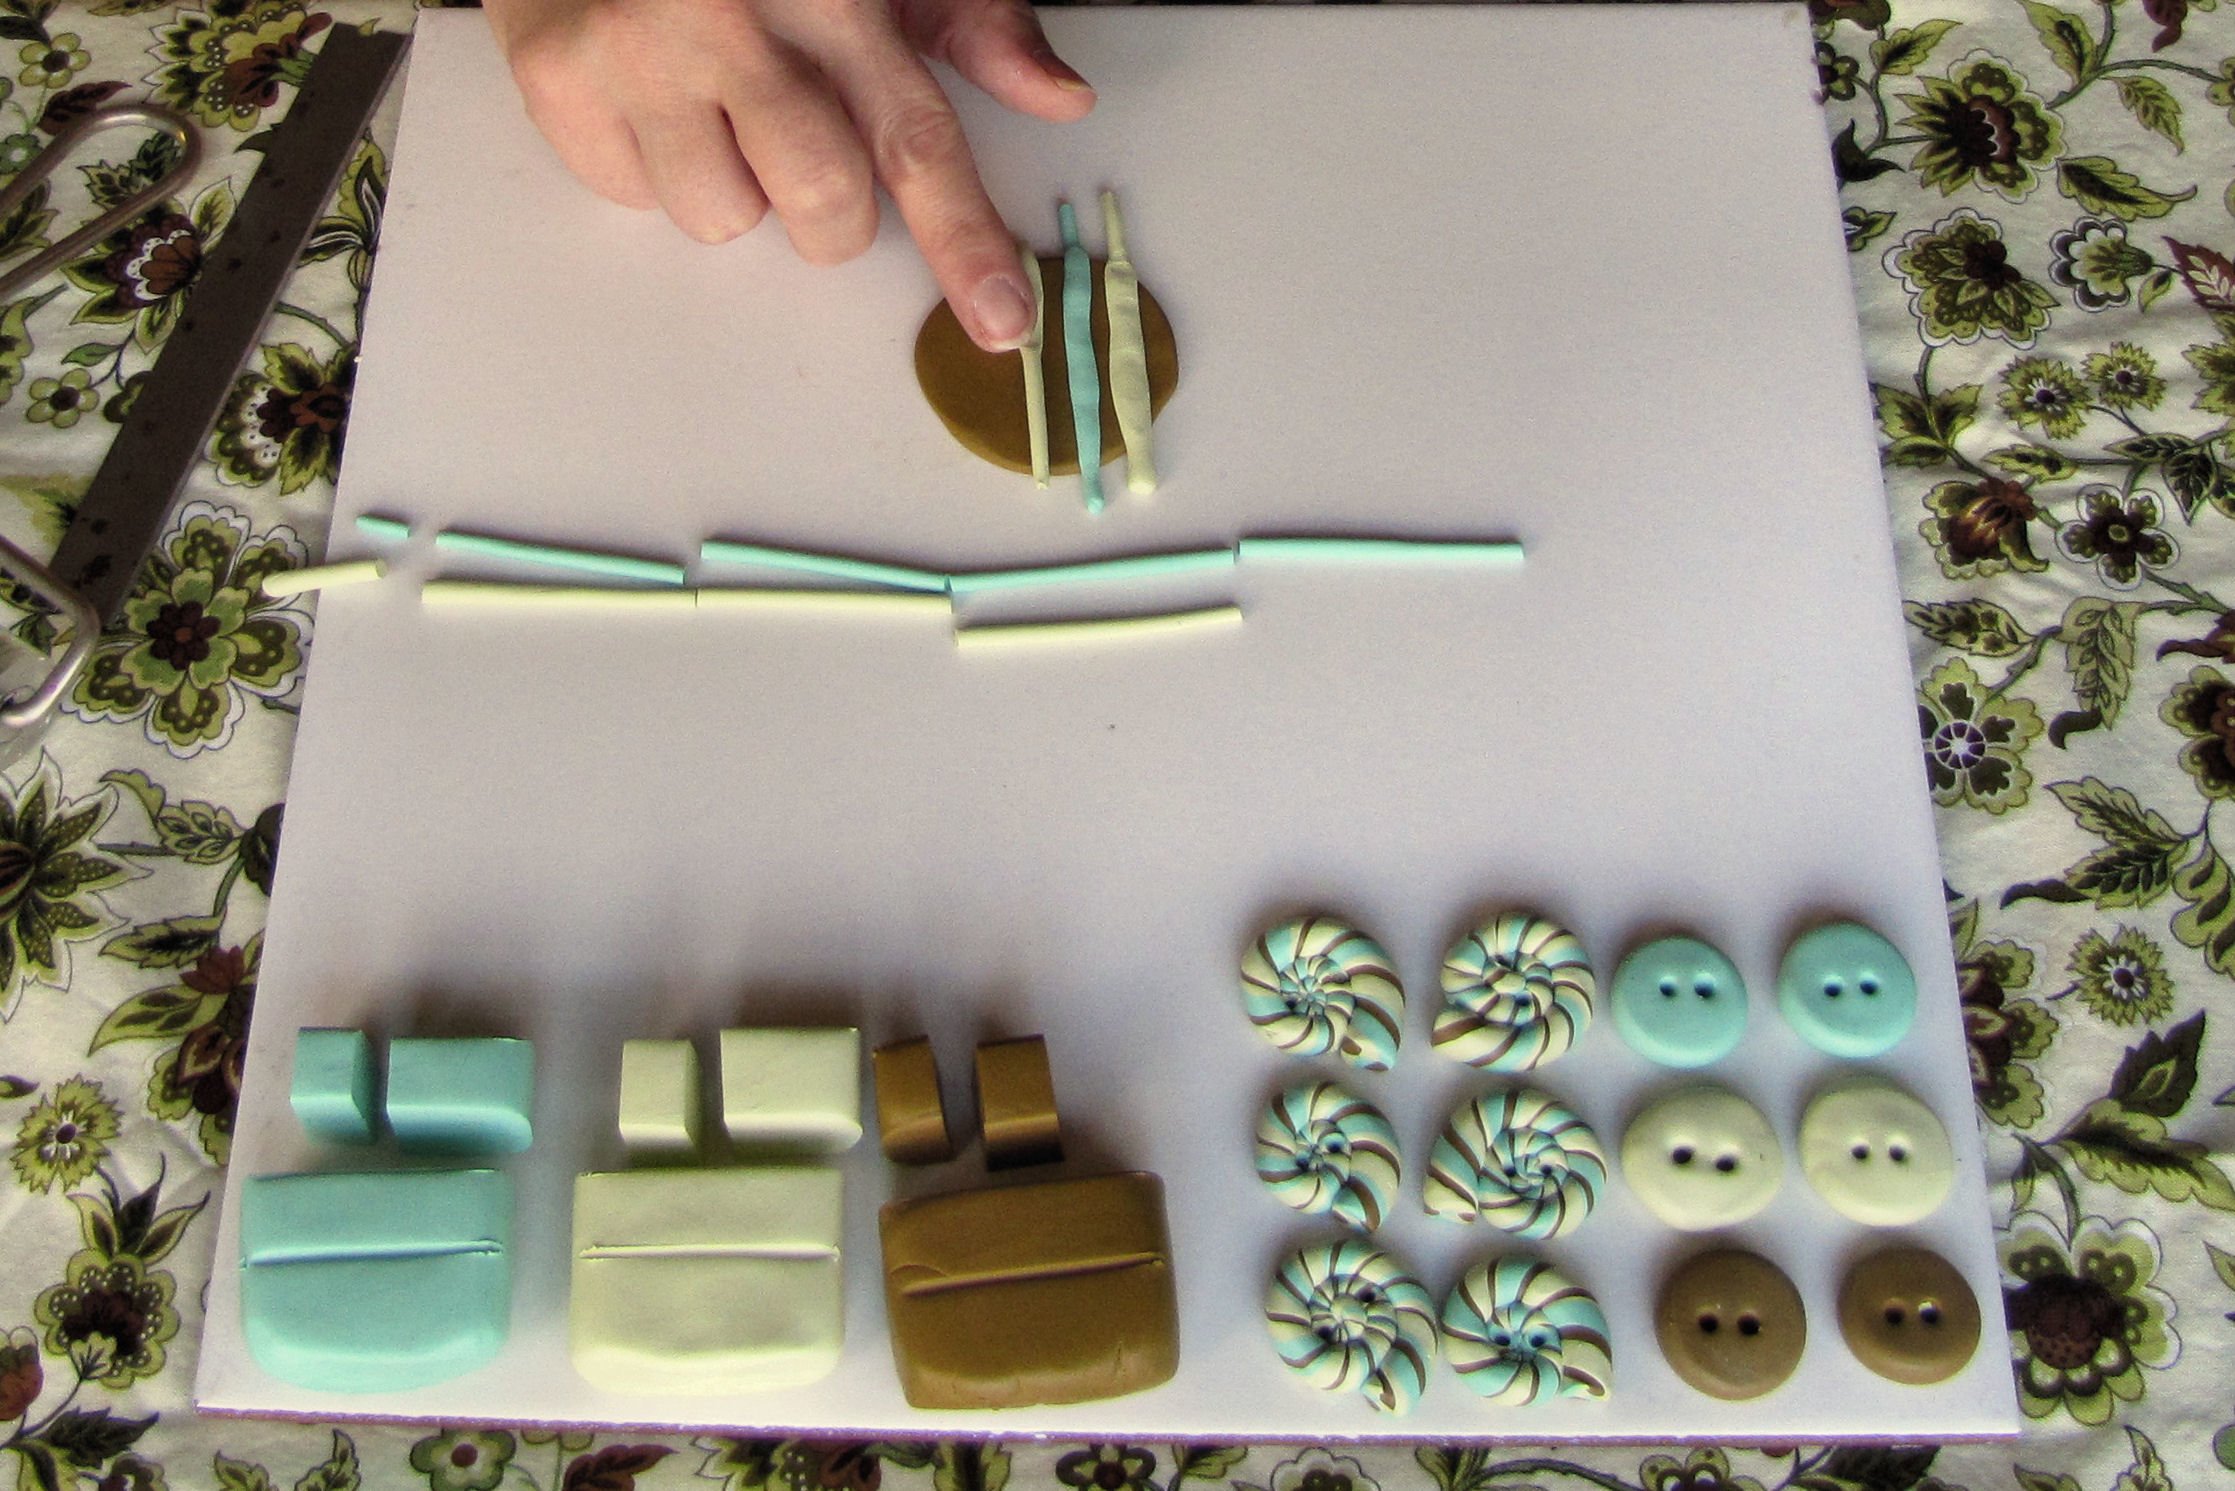
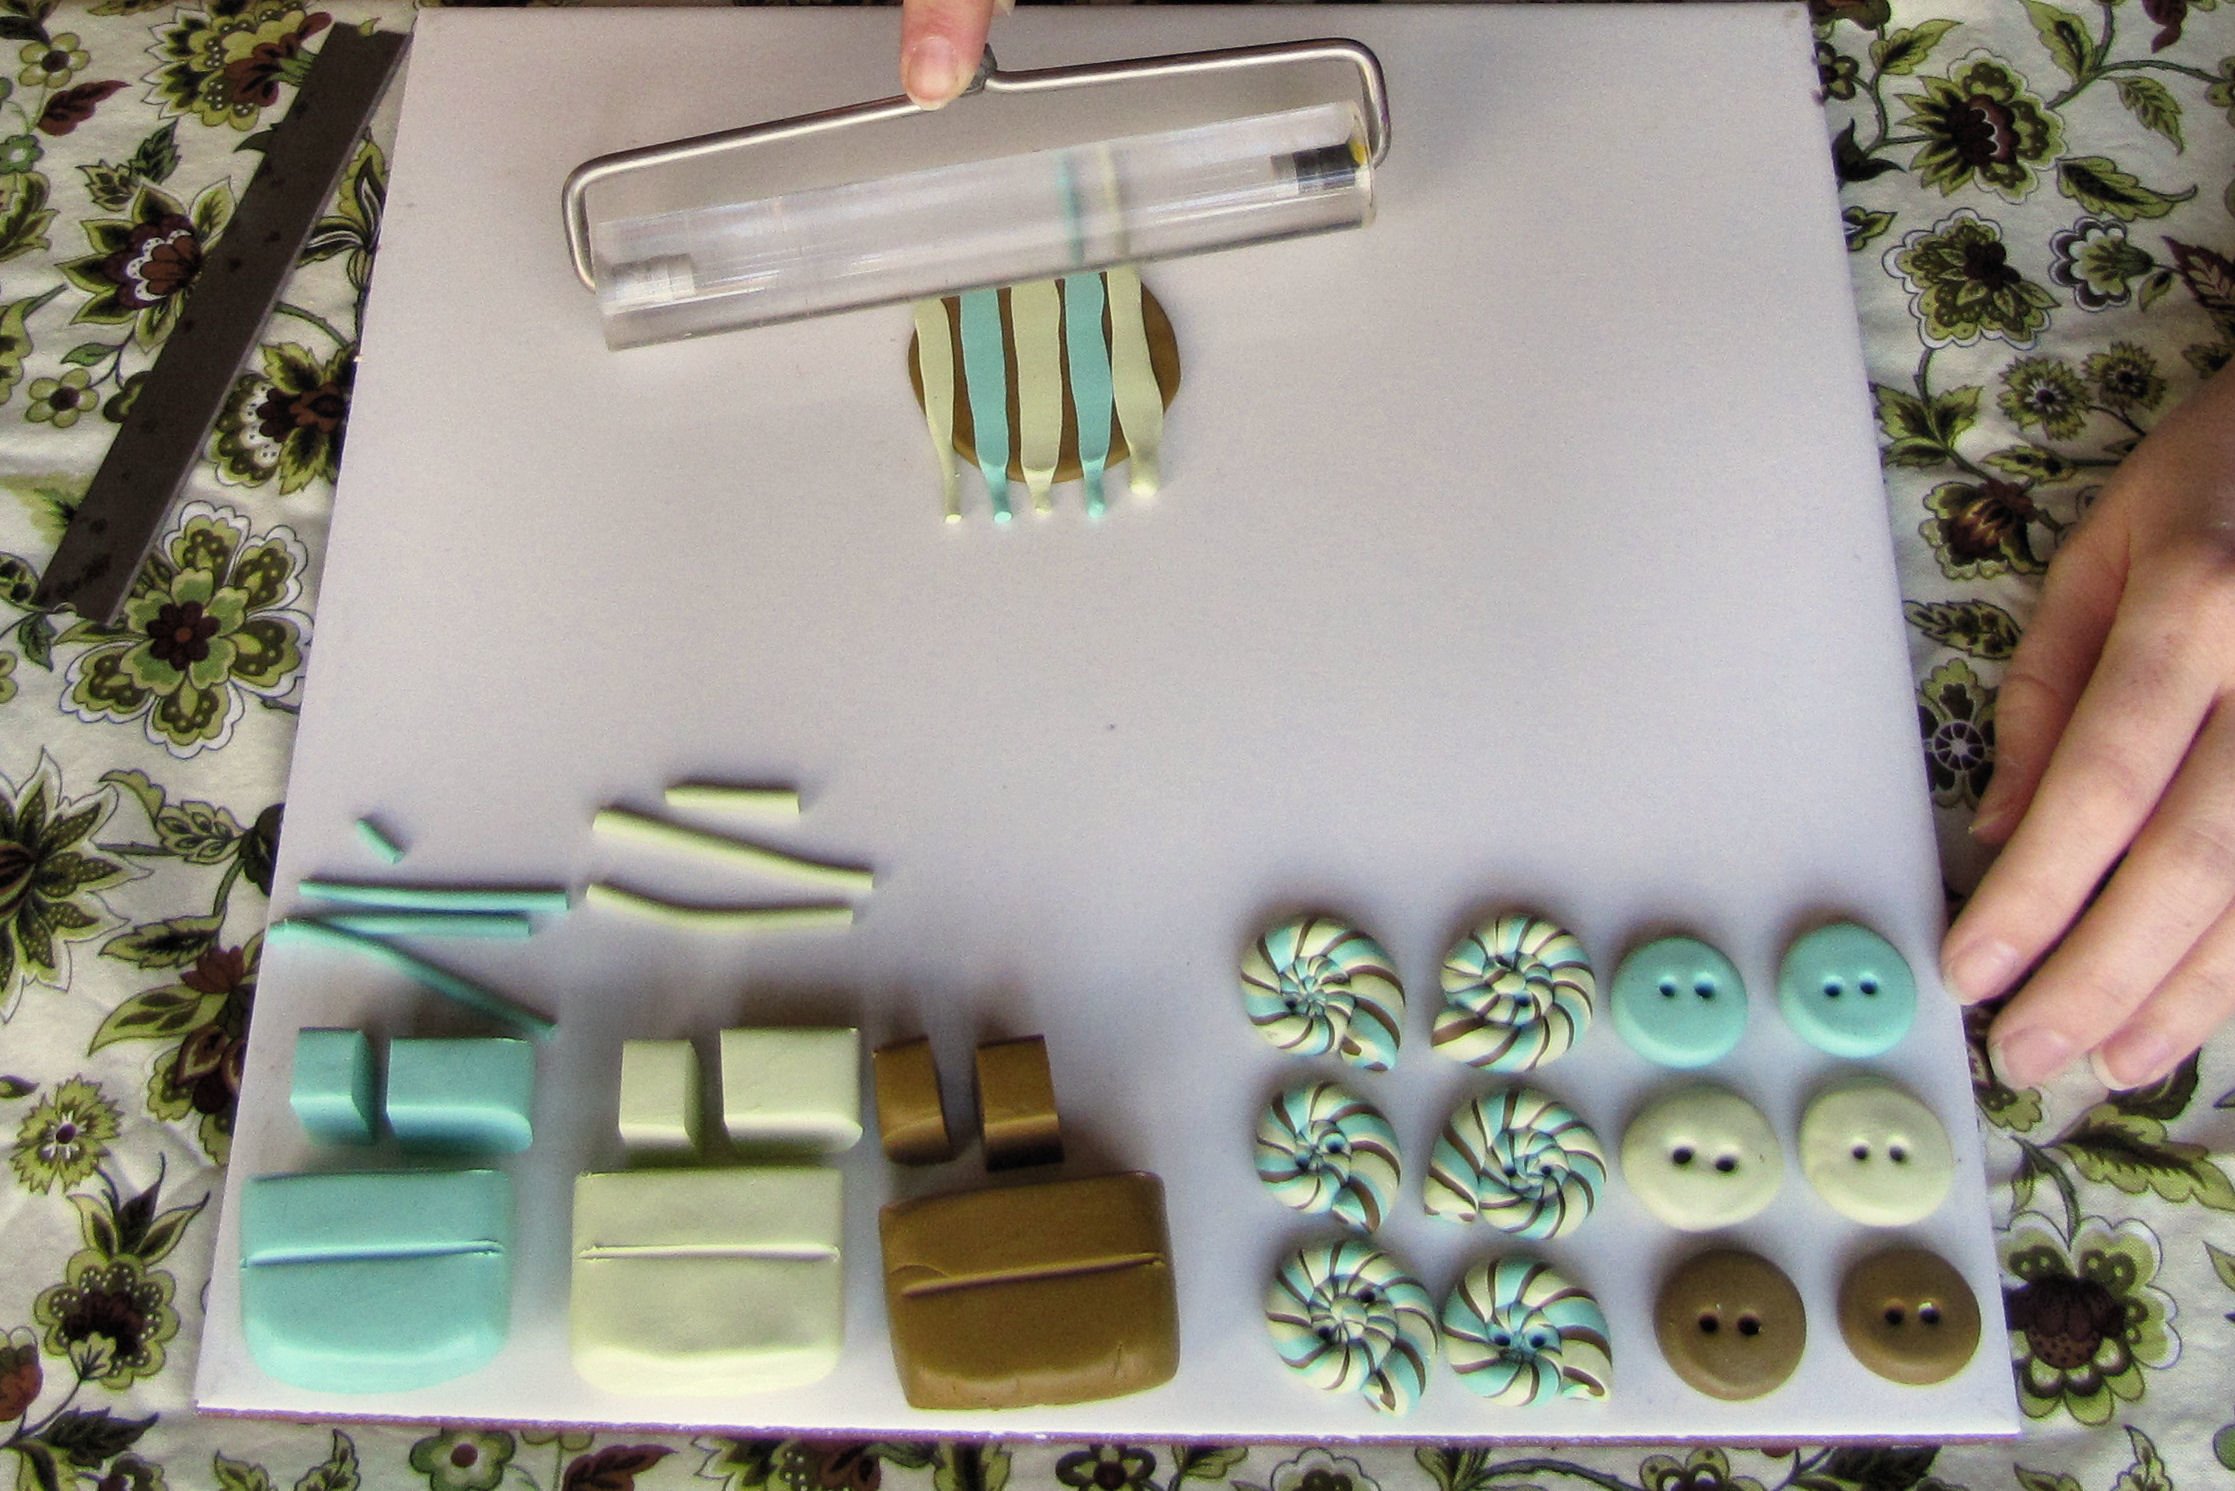
Condition the sections, and then use the brayer to roll out the larger piece to roughly 1/8-inch thickness. Roll the two smaller pieces into snakes (as shown in Lesson Two). They should be super skinny, about 1/8-inch wide.
Cut the snakes into 4 or 5 pieces, and lay them on top of the base, alternating colors, and pressing them down with your finger as you go. Be sure to leave some space between the stripes so that the base color can show through. The stripes will spread out as they are flattened.
Once you’ve covered the entire base with stripes, use your brayer to press the stripes into the base smoothly and evenly.
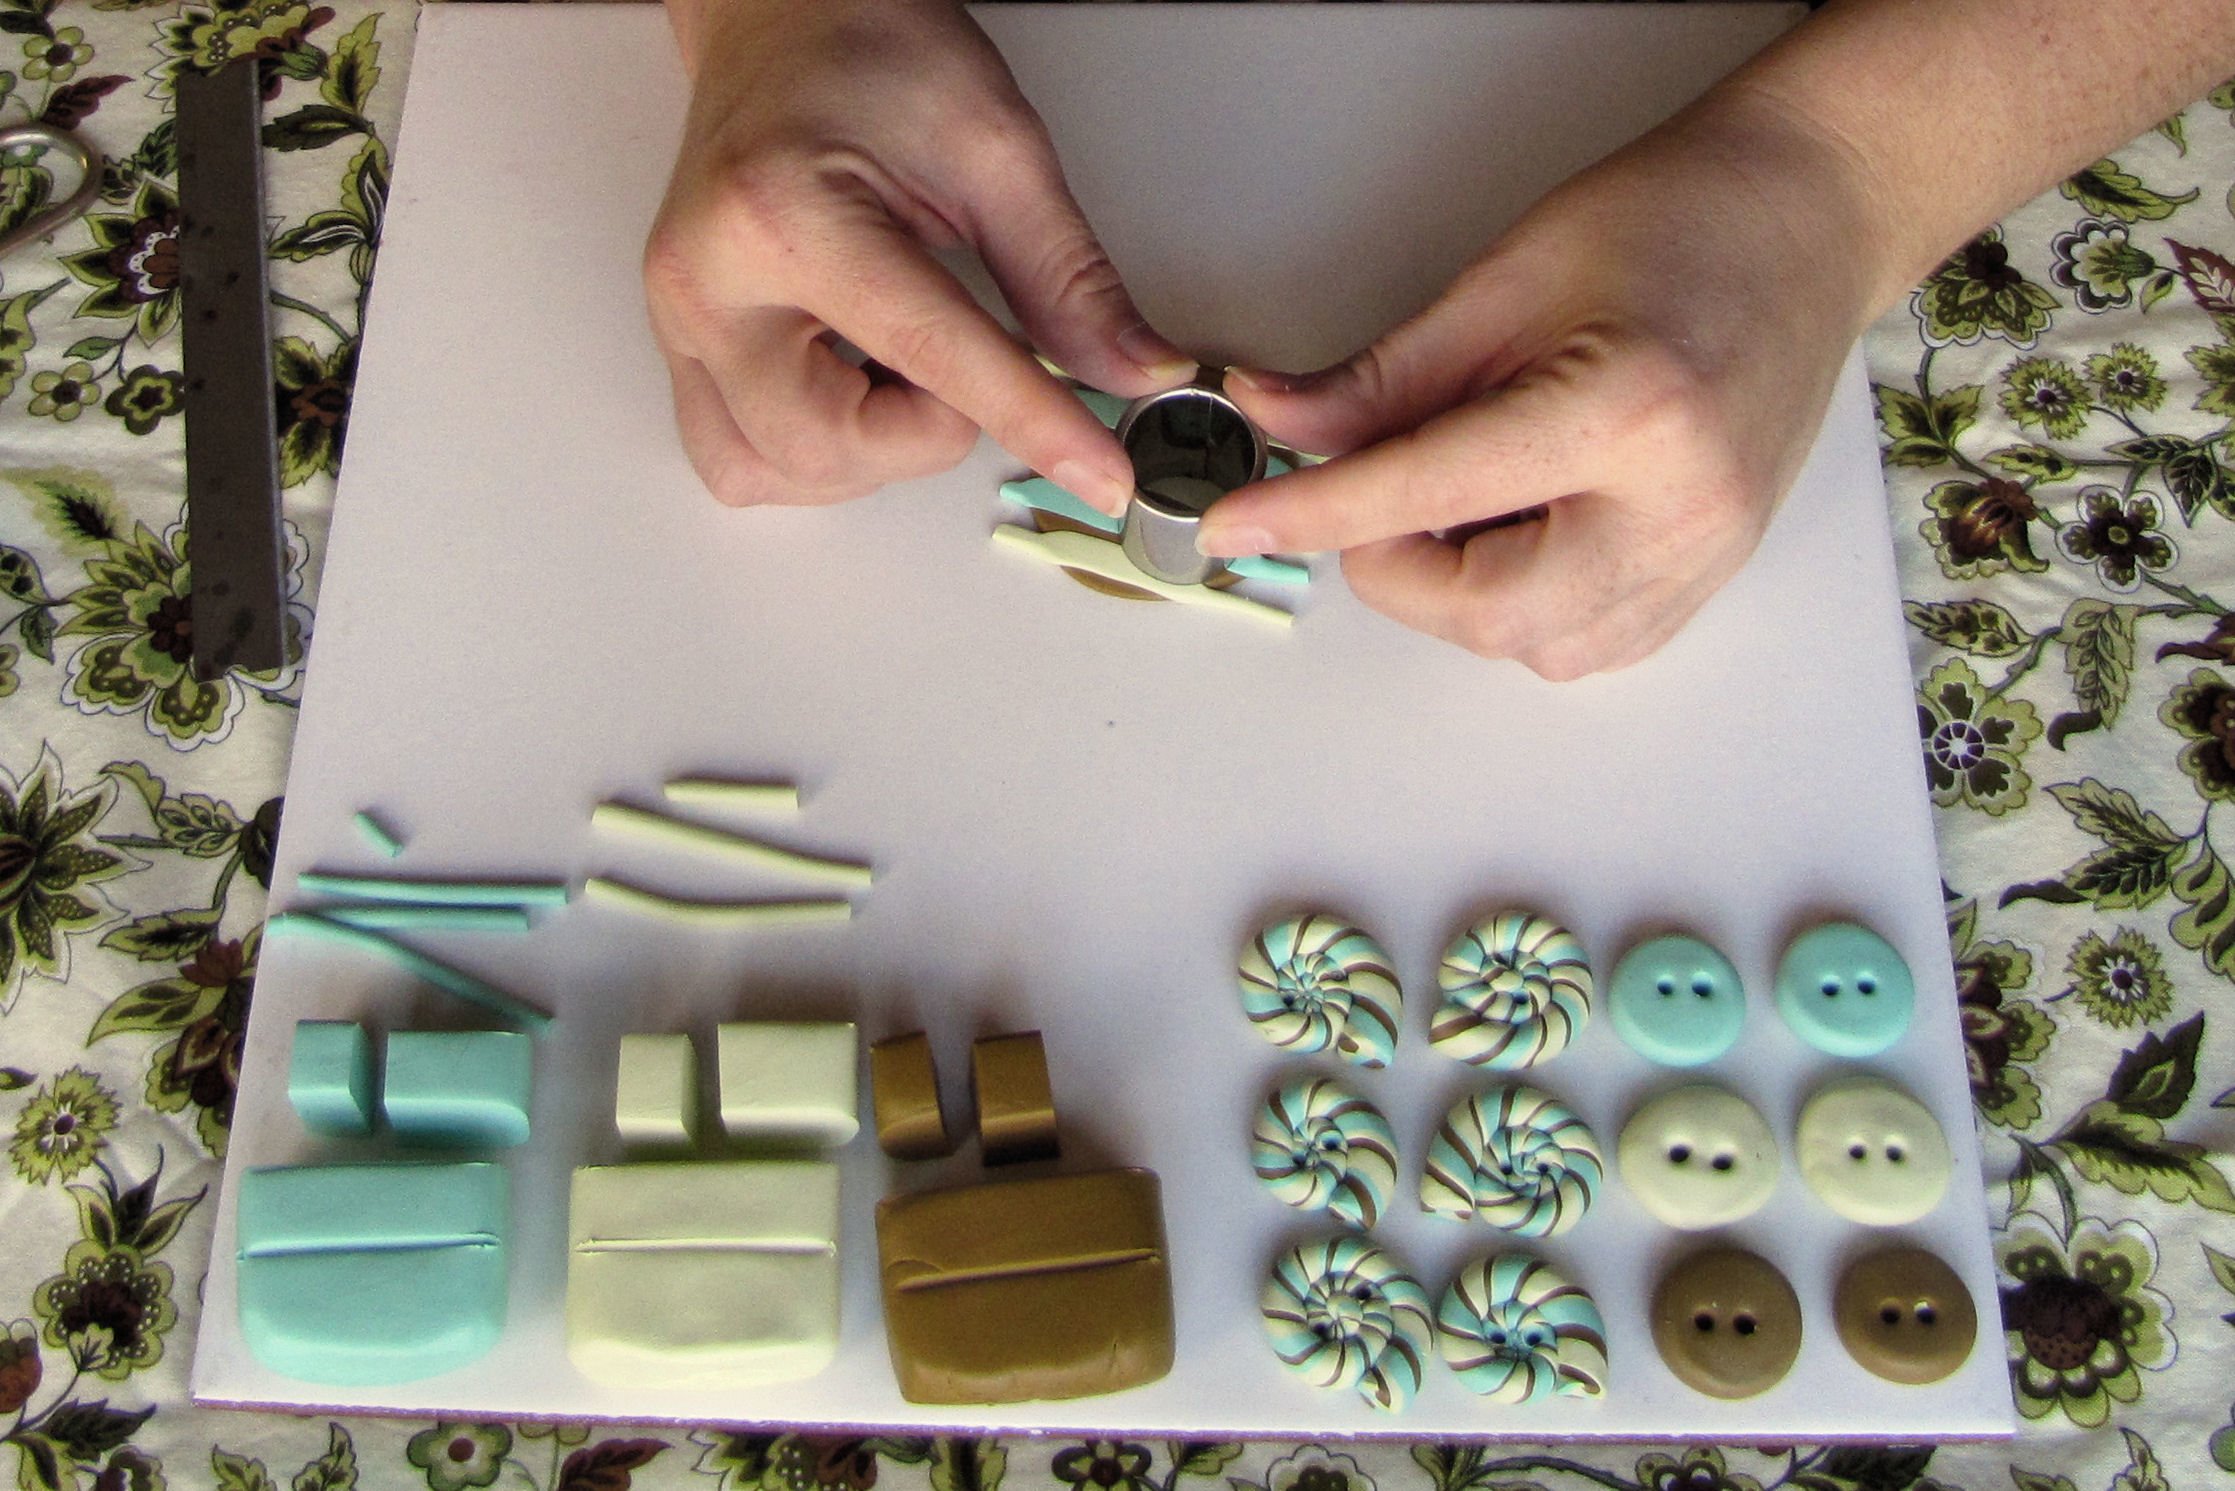
Position your cutter over the striped slab, looking through the top so as to choose the most pleasing arrangement of stripes to cut out. You should be able to get three buttons out of this slab.
Repeat the entire process in the other two colors, for a total of nine striped buttons. Poke your holes as usual and bake the buttons.
The rest of the slab – the parts that are too small and oddly-shaped to become a button – is the beginnings of your scrap pile. Just press the scraps gently together in a ball-like shape, and set them aside. We’ll be making something out of them in a future lesson. Nothing goes to waste with polymer!
You may notice that you have extra snakes leftover. So did I. All this indicates is that we probably could have gotten away with using more clay for the bases, and less clay for the stripes. If you want to try distributing your cuts differently in the first step (i.e. don’t cut it exactly in half – make the “half” that will become the slab a little bit larger than the “half” that will become the snakes) you would likely end up with fewer leftover snakes, and enough of a slab to cut out an extra button or two. Feel free to experiment! The worst that can happen is you end up with more for your scrap pile. It’s ok – there will still be enough clay left to finish the class, even if you have to re-do one of the lessons.
Your turn
Go forth and be stripey! If you have any questions, you may leave them in the comments and I’ll do my best to answer them. Once your buttons are done, I hope you will blog about them, or post them to flickr, and leave your link below so we can all see how you did!
Next week
Polka Dot Focal Buttons!
GET THE FULL CLASS EBOOK
All five lessons, plus other useful tips included in one PDF.


