Welcome back to the Beginner Button Class! I hope you were able to complete Lesson One without too much trouble. Have you been taking advantage of the gallery at the end of the post? Add your own buttons. Visit your classmates who have added theirs, and add a comment of support on their blogs.
For this second lesson, we will be building on the skills from last week and learning how to make snakes, twist them together, and create a snail shell shape. We’ll be making six buttons, all the same.
If you need a refresher on Conditioning or Baking your clay, you can find these instructions, as well as a Supplies + Tools list in Lesson One.
Directions
You should have three quarters plus two sixteenths of clay in each color leftover from last time. We’ll be using those smaller sixteenths today.
Condition each piece, and then roll it into a snake: You can start by rolling the clay back and forth between your palms until it begins to be elongated. Once it outgrows your palms, place it on your work surface, and roll it back and forth with one of your palms. Stop when the snake reaches about 4 or 5 inches in length. Repeat with each small piece.
Stack the six snakes on top of each other as shown. Make sure that they line up nicely at both ends of the stack, and all down the middle as well. Press gently down the length of the stack to ensure the that snakes are all adhered to each other, and to minimize air pockets between them.
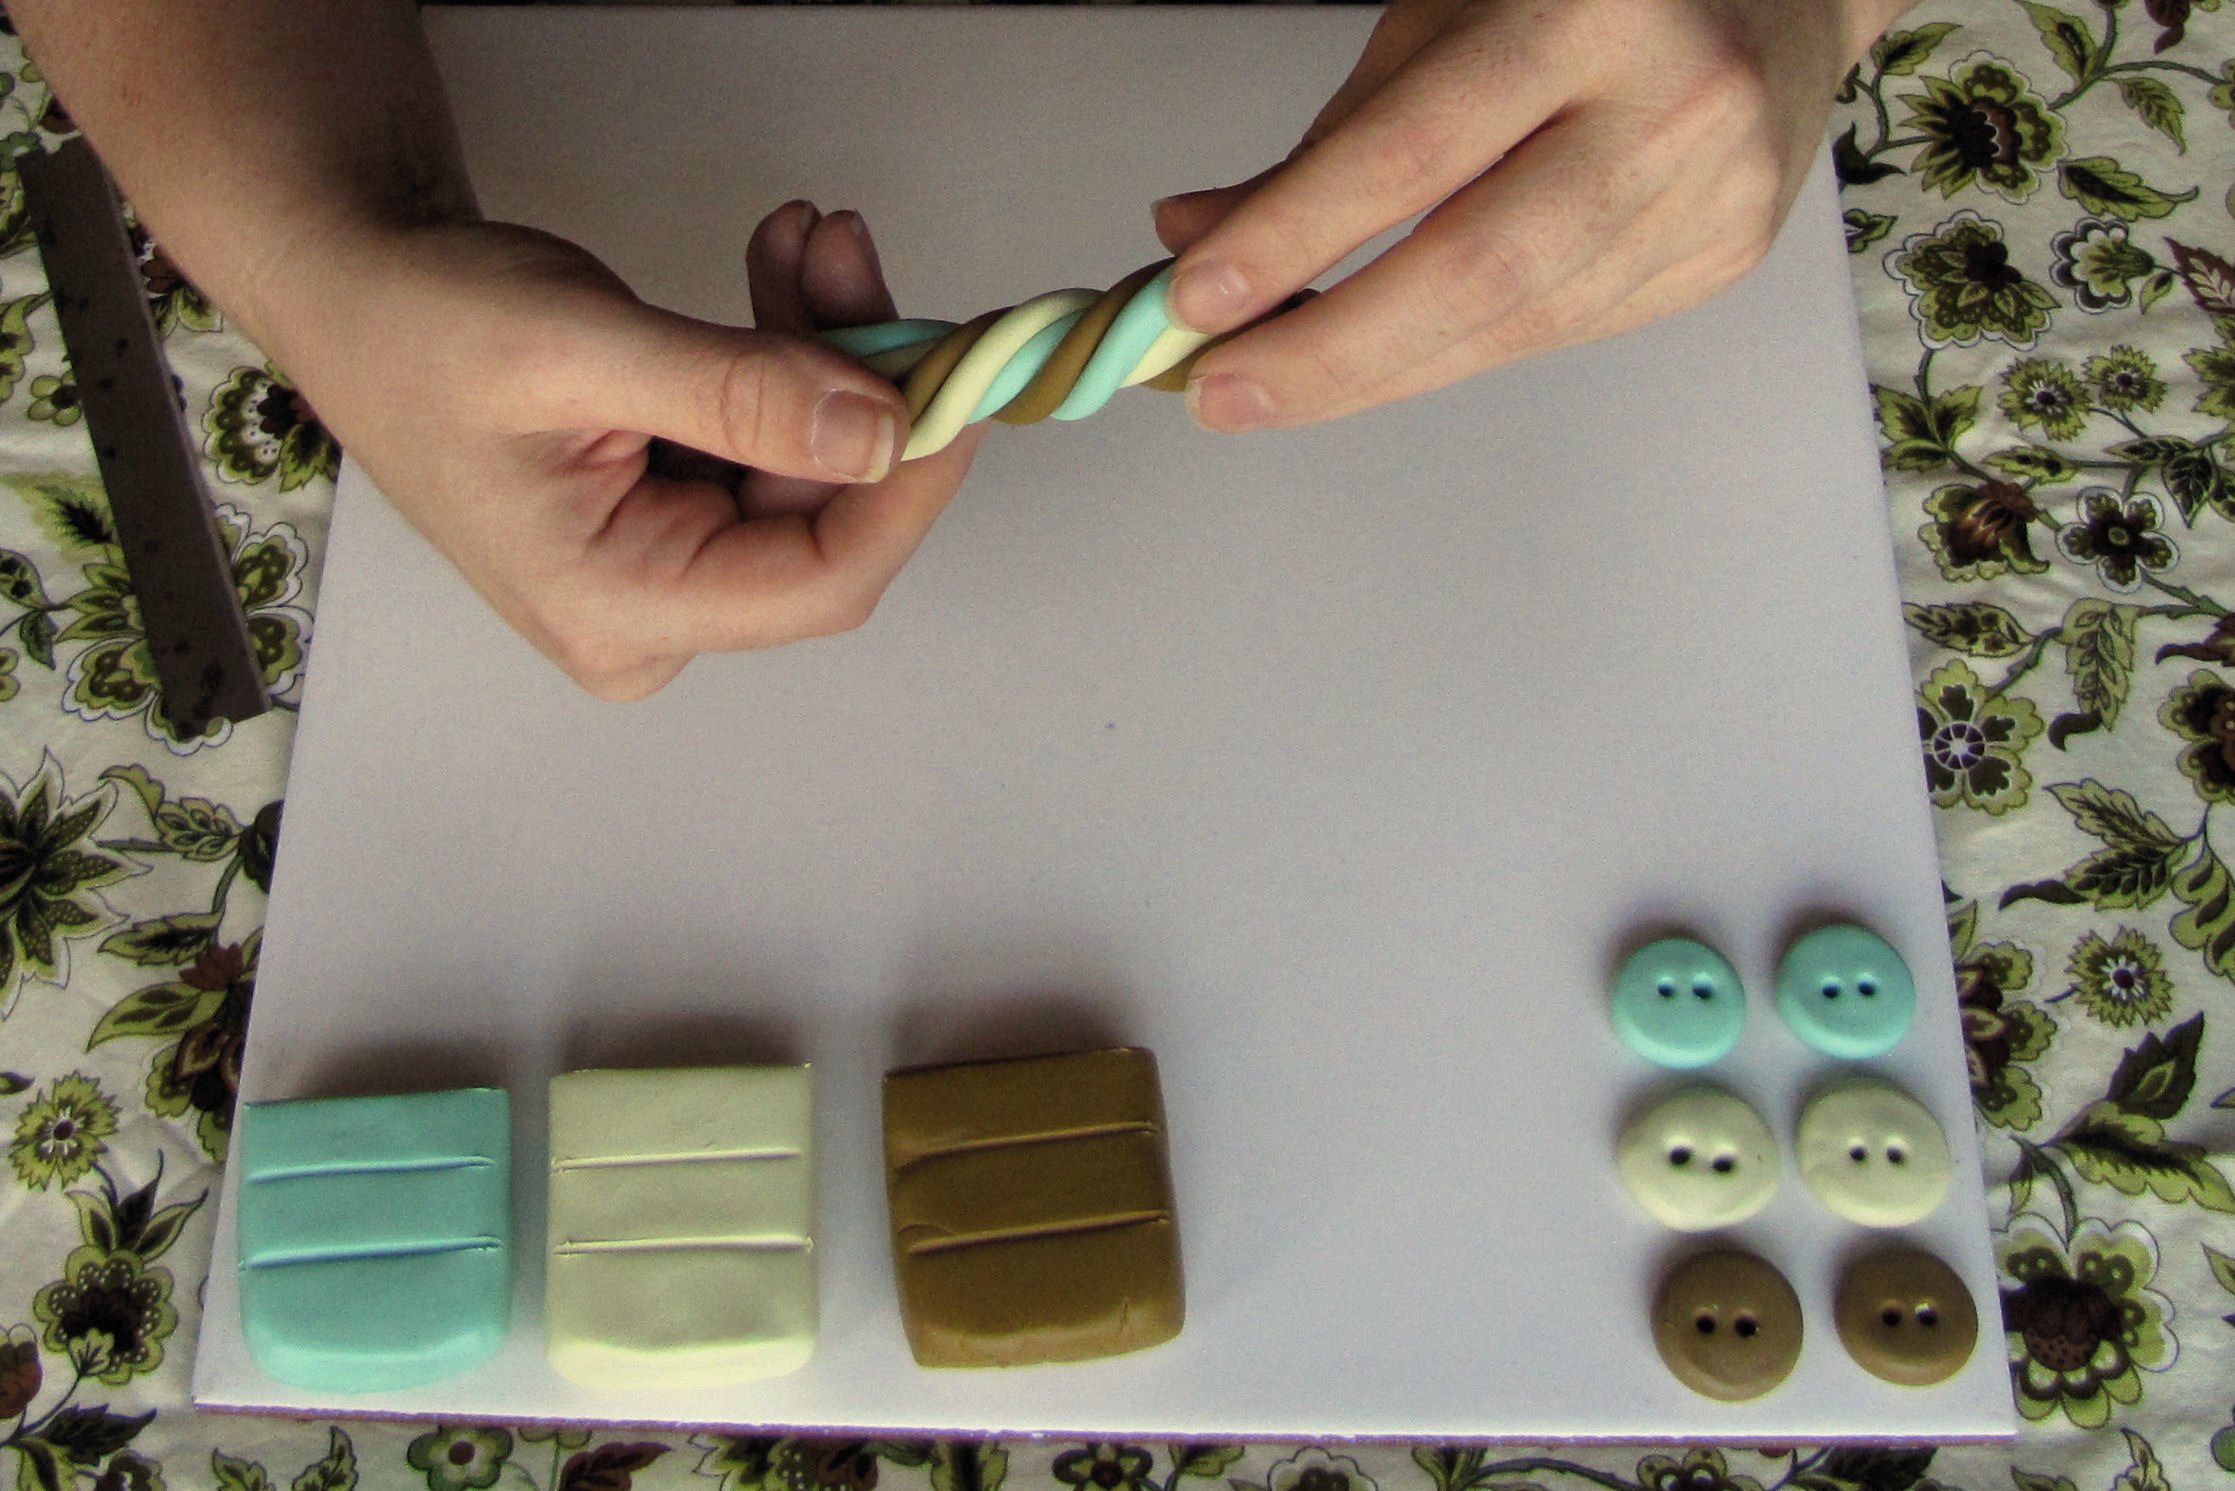
Grasp the stack at each end, and turn your hands in opposite directions. This will cause the stack to twist. Press gently down the length of the twisted stack as before, and then roll between your palms to smooth the edges. Your goal here is to turn this twisted stack of separate snakes into one unified stripey snake.
Place the striped snake on your work surface and roll it back and forth to smooth and elongate it. Use both palms this time, one at each end, gently guiding the snake towards the edges of your work surface, but in opposite directions – the movement will lengthen the snake, and at the same time, tighten the striping.
Continue in this manner until your snake is roughly a foot long.
Cut the snake into six equal sections, one piece per button.
Take one of the sections, and roll it on your work surface, keeping your hand at one edge. The goal is to bring one side of the snake to a point, and make a cone shape, leaving the other edge as wide as it began. (As this is a smaller snake than the others, your palm may be too cumbersome for the job. You can switch to using a fingertip or two when you are dealing with more delicate sizes like this.)
Beginning at the pointy end, roll the snake into a coil.
Poke two holes with your knitting needle. In spacing the holes, take notice of how much thinner the center of your button is than the outer edges. Don’t put your holes too close together, or you will risk breakage in that delicate center area.
Repeat the coiling process with the other five pieces, poke some holes, bake, and there you have it: Six new Striped Snail Shell Buttons!
Your turn
Time to go make your snail buttons! If you have any questions, you may leave them in the comments and I’ll do my best to answer them. Once your buttons are done, I hope you will blog about them, or post them to flickr, and leave your link below so we can all see how you did!
Next week
Asymmetrical Stripe Buttons!
GET THE FULL CLASS EBOOK
All five lessons, plus other useful tips included in one PDF.


